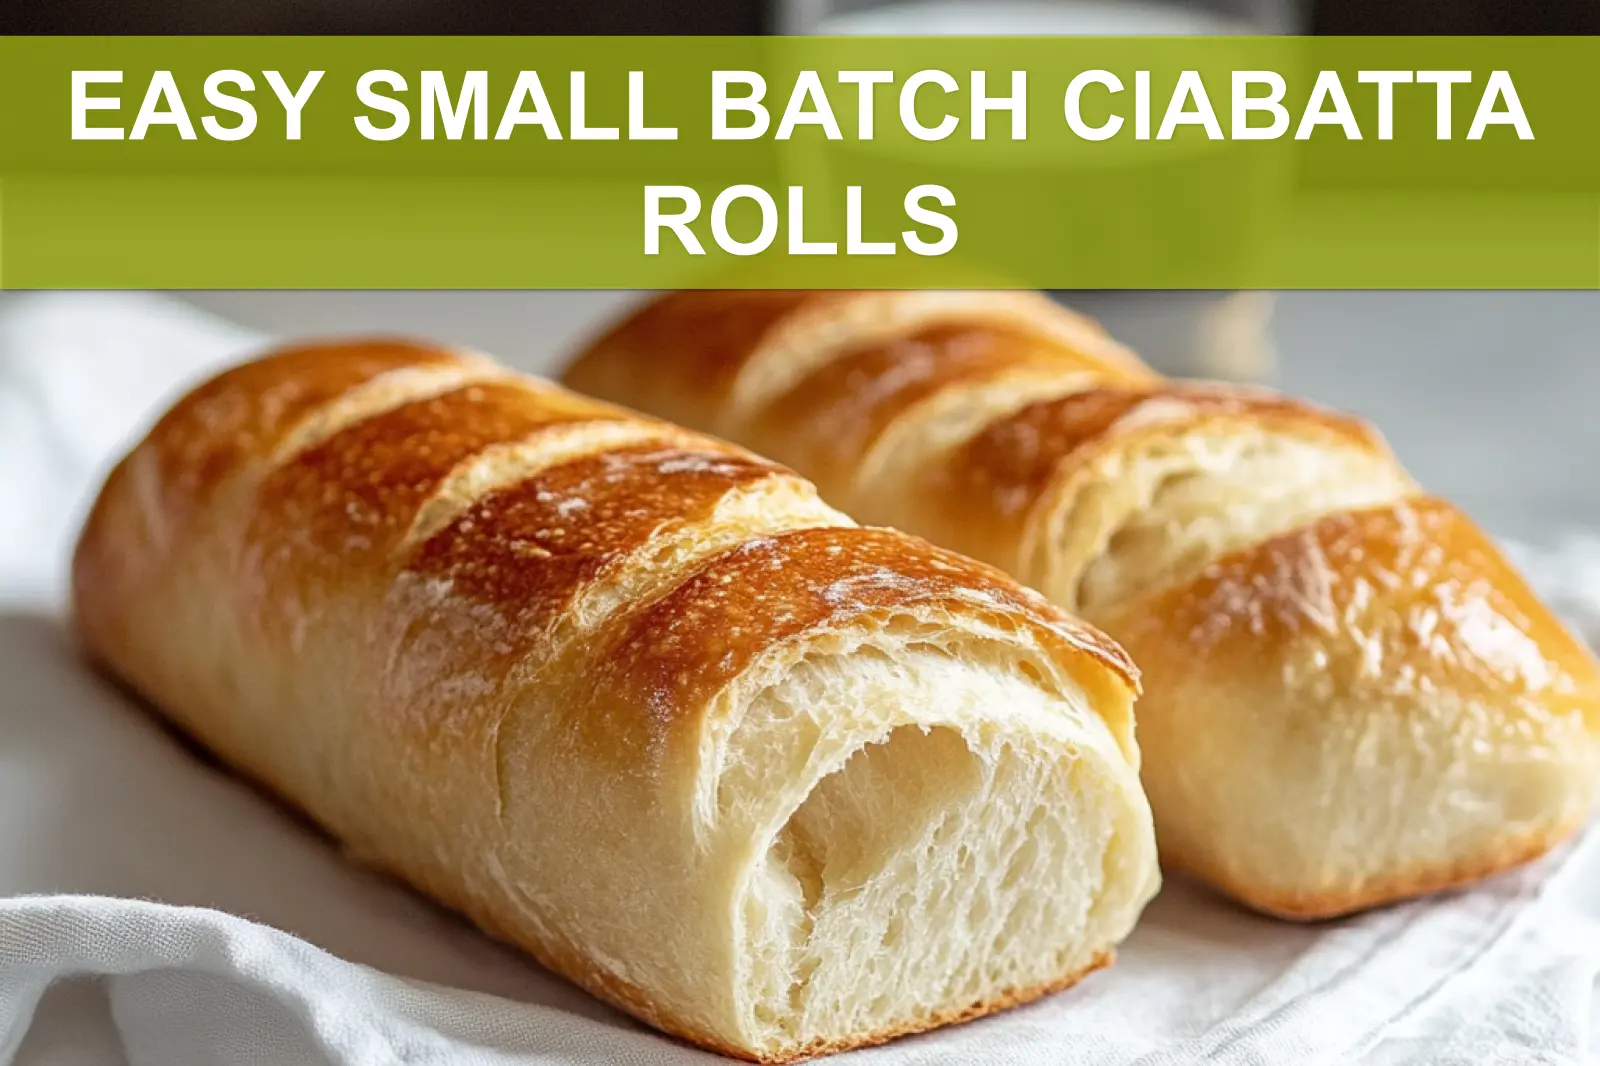
That crackly top. That pillowy middle. These Easy Small Batch Ciabatta Rolls are basically TikTok toastcore–meets–Grandma’s kitchen. Pinterest and Reddit can’t get enough. And I’ll be honest, I get why. You don’t need fancy toolsjust flour, water, time, and a hungry belly.
This is the kind of homemade bread you rip with your hands, not slice. Soft inside, golden outside, with that classic Italian-style airy chew. It’s a cozy mix of all-purpose flour, olive oil, and a rest-your-soul rise. Pantry staples all the way. Keep reading for all the details!
I learned the magic of gluten development from my dad’s wood-paneled bread book and many test kitchen sessions since. It’s humble food, yet packed with character. I experimented until I discovered a surprisingly simple trick for that perfect, bubbly textureno fancy flours or tools required.
Why You’ll Love These Easy Small Batch Ciabatta Rolls
These rolls are a total heart-stealer, especially for bread lovers who crave that artisan vibe without the stress:
- Small batch: Just the right sizefour rustic rolls, perfect for dinner, sharing, or cozy snacking.
- No kneading magic: Let time and a simple stir work their charm while you relax or multitask.
- Fluffy meets crispy: A pillowy, airy middle with a golden, crackly crust that’s joyfully tearable.
- Beginner-friendly: Pantry staples, minimal tools, and straightforward steps. Honest bread baking made easy.
Ingredients Breakdown
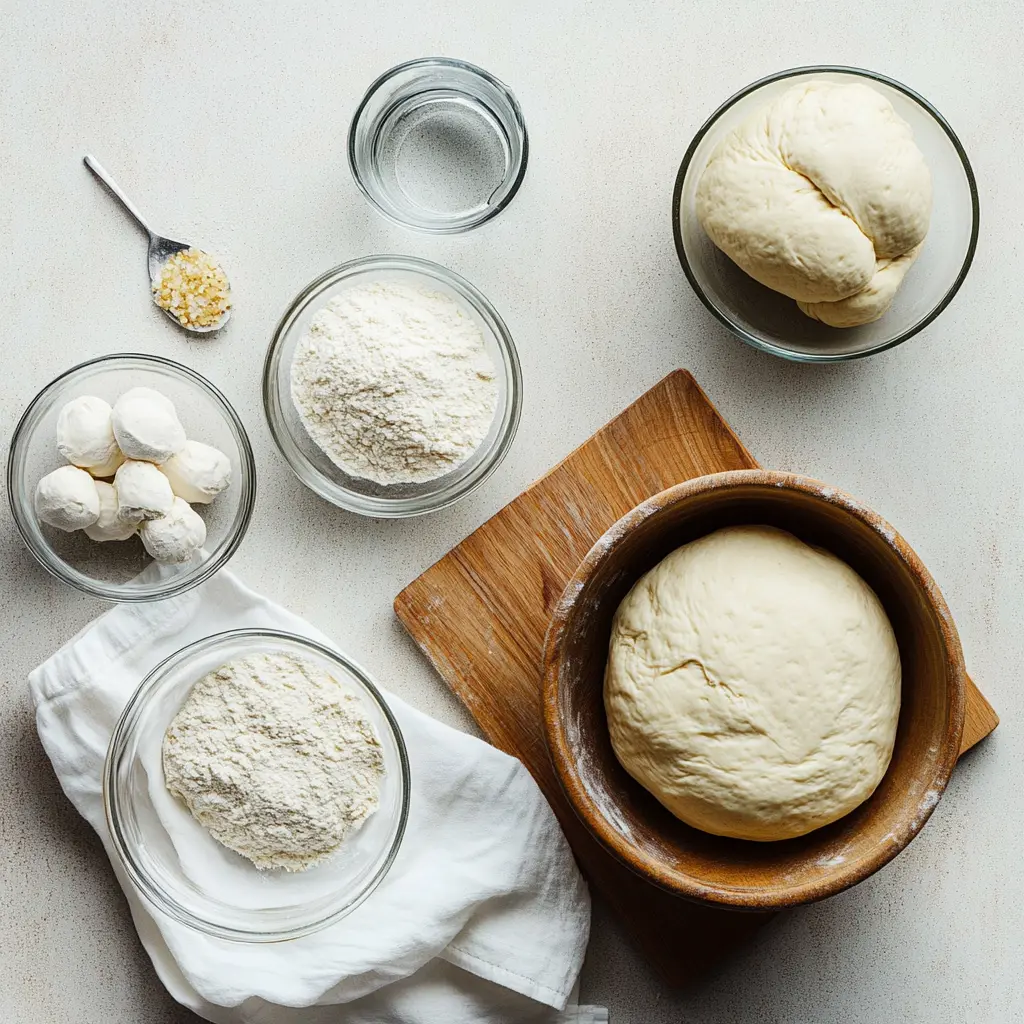
Let’s make this feel doable. Here’s exactly what you’re working withsimple and practical:

| Ingredient | Amount | Notes |
|---|---|---|
| Instant yeast | 1 teaspoon | For that essential rise and signature airy crumb. |
| Water | 240 grams (approx. 1 cup) | Use room temperature water for optimal yeast activation. |
| All-purpose flour | 300 grams (approx. 2.5 cups) | Accessible and reliableno need for specialty flours. |
| Salt | 1 teaspoon | Crucial for flavor and gluten strength. |
How It Works Step-by-Step
These ciabatta rolls may sound like a bakery project, but trust methey’re refreshingly simple. Here’s the rundown:
- Mix: In a large mixing bowl, combine all the ingredients. The dough will be stickyperfectly normal for ciabatta-style bread.
- Rest: Cover the bowl with a clean, damp towel or plastic wrap. Let it rise at room temperature for about 3 hours. During this time, the dough develops flavor and structure.
- Shape: Turn the dough out onto a well-floured surface. Divide it into four equal portions and gently shape them into rustic rectangles. Avoid overhandling to keep the airy texture intact.
- Final Proof: Transfer the rolls to a parchment-lined baking sheet and let them rise uncovered for about 30 minutes. This final proof boosts rise and texture.
- Bake: Place a shallow pan of hot water on the bottom oven rack. Preheat oven to 450°F (232°C). Bake rolls for 18–20 minutes, until golden brown with a crisp crust.
Pro Tip: That added steam in the oven helps develop a crusty exterior while preserving a soft and open interiorclassic ciabatta magic!
Troubleshooting & Tweaks
Bread baking doesn’t have to be fussy, but here’s how to handle common hiccups:
- Dough too sticky? Lightly oil your hands or sprinkle on a pinch of flour to make it easier to handledon’t overcompensate with too much flour.
- Not enough bubbles? Check that your yeast is fresh and that the water used is room temperature. Older yeast or incorrect temperatures can reduce fermentation.
- Flat rolls? Be gentle during shaping, and don’t skip the final proof. Rushing leads to dense results.
Feel free to make it your owntry mixing in chopped rosemary, garlic granules, or topping with sesame or sea salt before baking for extra flavor and crunch.
Serving & Storage Tips
The best part about small-batch bread? There’s rarely any left, but here’s how to enjoy and keep your rolls:
- Serving: These rolls are ideal for soaking up soups, building sandwiches, or enjoying warm with butter or olive oil.
- Storage: Store leftover rolls in an airtight container at room temperature for up to 2 days. To refresh, place them in a 350°F oven for 6–8 minutes until warm and revived.
- Freezing: Wrap cooled rolls tightly and freeze them in a sealed bag for up to 1 month. Thaw at room temp and warm in the oven for that fresh-baked taste.
| Storage Method | Time | Tips |
|---|---|---|
| Room Temperature | Up to 2 days | Keep in a sealed bag to maintain softness; refresh in oven before serving. |
| Freezer | 1 month | Wrap rolls individually, then seal in a freezer bag to prevent freezer burn. |
Pro Tip: Freeze rolls separately on a tray first, then bag themmakes it easier to grab just one (or two) when you need a quick bite!
Expert Insight: Mastering EASY SMALL BATCH CIABATTA ROLLS
Ciabatta’s signature airy crumb relies on high hydration and gentle handling of the dough. This Easy Small Batch Ciabatta Rolls recipe balances simplicity with technique, making it accessible without sacrificing the lightness and chewy texture that define traditional Italian ciabatta.
For more delicious recipes and cooking inspiration, follow me on Facebook, Pinterest and Reddit!
The Journey to Perfect Easy Small Batch Ciabatta Rolls
I must have baked these Easy Small Batch Ciabatta Rolls a dozen times before nailing the perfect crust and airy crumb. One batch turned out so dense I almost gave up, but each try taught me something newespecially the importance of a proper rise and handling the dough with care. This recipe is the result of those trials and moments of joy in the kitchen.
FAQs ( Easy Small Batch Ciabatta Rolls )

Conclusion
These Easy Small Batch Ciabatta Rolls come together with minimal effort, delivering a golden crackly crust and feather-soft interior. You’ll be amazed how pantry staples can transform into bakery-worthy bread in your own kitchenno mixer, no stress.
Want to get creative? Try folding in chopped olives, herbs, or crushed garlic for flavor twists. Leftovers reheat beautifully or freeze them for fresh bread on demand. A pro tip from a favorite baker: bake with steam for crusts that genuinely sing.
So go aheadgive these rolls a try and share your results! Whether you’re a seasoned home baker or just dipping your hands in dough for the first time, this recipe is the perfect place to start. Cozy, comforting, and crowd-pleasingthis is bread you’ll come back to again and again.

Easy Small Batch Ciabatta Rolls: Perfect Delicious Bread
Ingredients
Method
- In a large bowl, combine the instant yeast and water; stir gently to dissolve.
- Add the all-purpose flour and salt to the bowl.
- Mix the ingredients together with a spoon until a sticky dough forms; no kneading is required.
- Cover the bowl with plastic wrap or a damp towel and let the dough rise at room temperature for about 3 hours, until doubled in size.
- Preheat your oven to 230°C (450°F) and place a baking tray or pizza stone inside to heat.
- Turn the dough onto a floured surface and gently shape it into a rectangle.
- Cut the dough into 4 equal pieces and shape each into a rough oval or roll.
- Place the rolls on a piece of parchment paper and let rest for 10 minutes.
- Carefully transfer the parchment and rolls onto the hot baking tray or stone.
- Bake for 20-25 minutes, or until the rolls are golden brown and sound hollow when tapped.
- Allow rolls to cool slightly before serving for the best texture.
Notes
- For a crispier crust, place a shallow pan of water in the oven during baking to create steam. Store rolls in an airtight container for up to 2 days or freeze for longer storage.


