I’ll never forget the sound of that first crusty crackle, pulling a hot loaf of golden sourdough bread from the oven with my grandma’s quilted mitts. These days, this easy sourdough bread recipe is topping charts on Pinterest and it’s no surprise. It’s wonderfully straightforward, needing no special equipment, just time, care, and a little love. The result? A bakery-quality loaf with a soft crumb and gorgeously crisp crust, perfect for sourdough beginners and experts alike.
The interior is tender and airy, while the crust gets its golden hue from a touch of honey and a drizzle of olive oil before baking. With just four basic ingredients flour, water, salt, and active starter you can bake this in a home kitchen. It’s like the perfect cross between French artisan bread and homey country-style loaf. Complete recipe details below!
My sourdough journey began with my grandma’s old glass jar, a stubborn little starter, and a desire to recreate her rustic loaves. Over time, I’ve tested more batches than I can count and this recipe cracks just right every time. Want to know a secret? A teaspoon of honey in the dough. It feeds the wild yeast and subtly enhances the flavor trust me, you’ll love it.
Why You’ll Love This Golden Sourdough Bread
This golden sourdough bread is a little slice of heaven and surprisingly simple to make. Here’s why it’s about to become your new favorite:
- Cozy and nostalgic: The golden crust and chewy texture will remind you of fresh bakery loaves perfect for lazy weekend mornings or soup dunking.
- Beginner-friendly: You don’t need fancy tools or years of baking experience to master this. Just time, your hands, and some love.
- Flexible timing: With its long rise and no-knead approach, it works around your schedule bake it overnight or on a slow day at home.
- 4 simple ingredients: Flour, water, salt, and a bubbly starter things you probably already have ready to go!
Tools and Ingredients You’ll Need
We’re keeping it minimal here no need to overcomplicate sourdough baking. Here’s what you’ll need:
- Flour: Bread flour is ideal for chewy texture, but all-purpose works too if that’s what’s in the pantry.
- Sourdough starter: Ensure your starter is active and bubbly. If it’s been stored in the fridge, feed it 8–12 hours before using for best results.
- Warm water: Aim for about 85°F (29°C) to help the fermentation get started without slowing the activity of your starter.
- Salt: Adds balanced flavor and helps tighten the gluten network during baking.
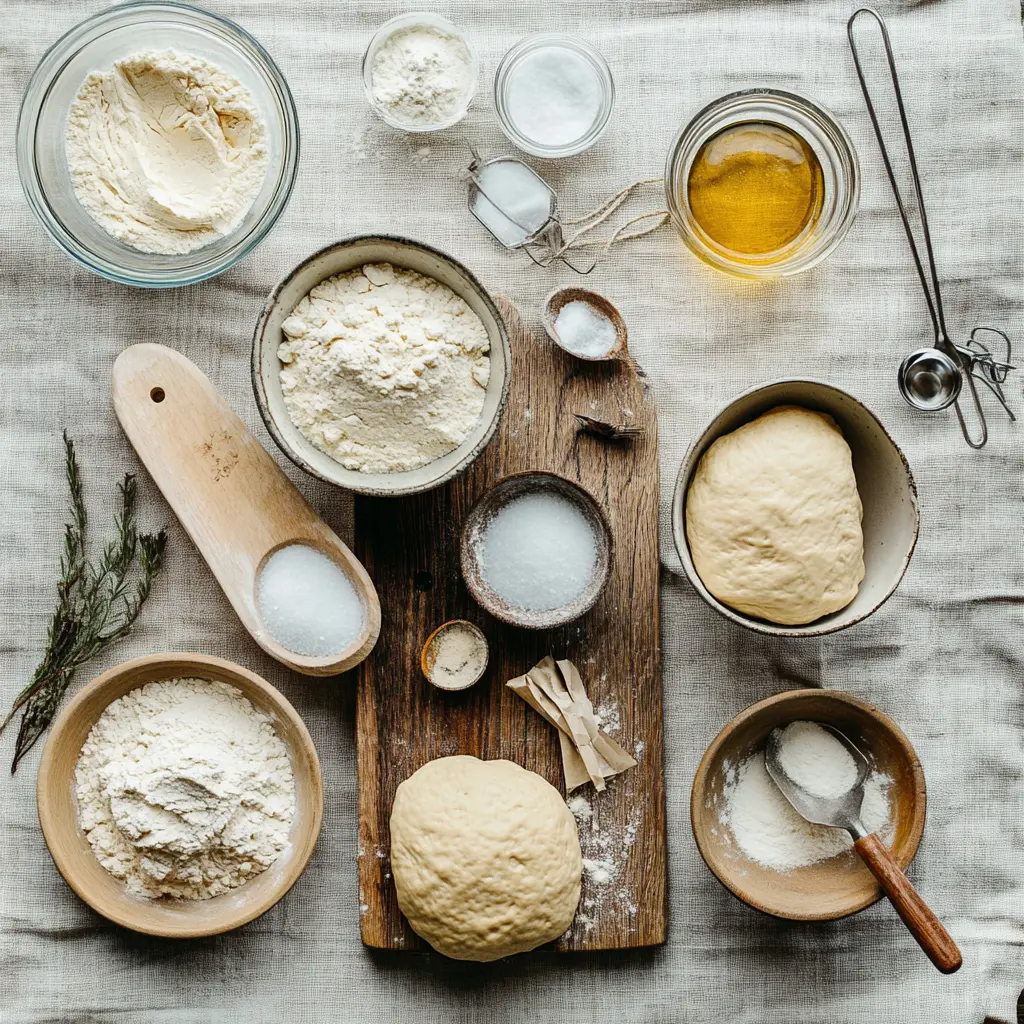
For tools, you’ll need a large mixing bowl, a Dutch oven or heavy pot with a tight-fitting lid, parchment paper, a rubber spatula, and something sharp for scoring a razor blade or bread lame works well.
| Ingredient | Amount | Substitutions |
|---|---|---|
| Bread Flour | 4 cups (500g) | All-purpose flour |
| Warm Water | 1⅔ cups (375g) | None |
| Sourdough Starter | 1 cup (200g) | None |
| Salt | 2 teaspoons (10g) | None |
| Honey (optional) | 1 teaspoon (7g) | Maple syrup |
Step-by-Step Guide (With Timings)
Here’s how to make golden sourdough bread without breaking a sweat. Take it step by step slow and steady wins the crust!
- Mix and rest (autolyse): In a large bowl, combine flour and water. Mix until you get a shaggy dough. Cover and let rest for 30 minutes. This helps the dough hydrate and makes gluten build-up easier later.
- Add starter and salt: Add your active sourdough starter and salt. Use wet hands or a silicone spatula to mix thoroughly until fully incorporated.
- Stretch and fold: Every 30 minutes for the next 2 hours, gently stretch and fold the dough from all sides. Perform a total of 4 sets. This builds strength without kneading.
- Bulk ferment: Cover the bowl and let the dough rise in a warm, draft-free area (ideally 75–78°F / 24–26°C) for 6–8 hours, or until it has doubled in size and is bubbly on the surface.
- Shape and proof: Lightly flour your work surface and shape the dough into a round or oval loaf. Place seam-side up into a floured banneton or towel-lined bowl. Cover and chill in the fridge for 8–12 hours (cold proof).
- Bake to golden perfection: Preheat your oven to 450°F (232°C) with your Dutch oven inside. Remove dough from fridge, gently invert onto parchment, score the top, and transfer to the Dutch oven. Bake covered for 20 minutes, then uncovered for another 25–30 minutes until deep golden. Let cool on rack for at least 1 hour.
| Step | Timing |
|---|---|
| Autolyse (mix & rest) | 30 minutes |
| Stretch & fold | 2 hours |
| Bulk fermentation | 6–8 hours |
| Cold proof | 8–12 hours |
| Bake | 45–50 minutes |
Troubleshooting & Tips
Curious about what could go wrong? Let’s troubleshoot a few common issues:
- Dough feels too sticky: Wet dough is expected! Use slightly damp or floured hands during folds and shaping to prevent sticking.
- Flat loaf: Check your starter if it’s sluggish or hasn’t doubled after feeding, it may need more time or additional refreshes before baking.
- Burned bottom crust: Place a baking sheet on the rack below your Dutch oven or sprinkle semolina under the parchment to diffuse direct heat.
Pro Tip: Nervous about shaping? Proof your dough directly on parchment paper inside the Dutch oven for easy transfer and support.
Storing Your Golden Sourdough
You’ve baked a masterpiece now here’s how to store it for the freshest results:
- Room temperature: Place cut-side down on a wooden cutting board or wrap loosely in a clean tea towel. Best enjoyed within 48 hours.
- Freezer: Slice the loaf, wrap in foil or plastic, and store in a freezer-safe bag for up to 1 month. Toast slices straight from frozen for quick convenience.
- Avoid refrigerating: The cold environment tends to dry out sourdough and reduce its flavor and texture quality.
| Storage Method | Duration | Tips |
|---|---|---|
| Room Temperature | 1–2 days | Wrap in a clean tea towel |
| Freezer | Up to 1 month | Slice before freezing |
Expert Insight: Mastering the Art of Golden Sourdough Bread
Achieving the perfect golden crust on sourdough bread requires precise fermentation and baking temperatures. This delicate balance encourages caramelization and Maillard reactions, creating that signature color and complex flavor without compromising the crumb’s tenderness. Patience and attention to detail are key to elevating your golden sourdough bread every time.
For more delicious recipes and cooking inspiration, follow me on Facebook, Pinterest and Reddit!
Mastering the Art of Golden Sourdough Bread
This golden sourdough bread wasn’t an overnight success. After many early loaves that were either too dense or too sour, I finally found the balance of crisp crust and tender crumb. Each attempt taught me patience and the joy of watching simple ingredients turn into something deeply comforting and wholesome.
FAQs ( Crusty Golden Sourdough Bread with a Soft Chewy Center )

Conclusion
Golden sourdough bread comes together with simple ingredients and a little patience, rewarding you with a crust that crackles and a soft, tangy crumb inside. It’s an easy, no-fuss loaf that fits perfectly into your kitchen rhythmideal for cozy breakfasts or family dinners. You’ll love how forgiving and comforting this bread feels every time you bake it.
Try adding herbs like rosemary or swapping honey for maple syrup to mix things up. Leftovers freeze beautifullyjust slice and toast when you need a quick pick-me-up. A little tip from a pro baker I admire: always keep your starter lively, and your bread will follow suit with flavor and rise. Simple, honest, and truly homemade.
Did this recipe bring back any memories or spark new kitchen adventures? I’d love to see your golden loaves or hear about your own sourdough stories. Share, pin, and pass this one alongit’s the kind of bread that makes a house feel like home. Happy baking, friend!
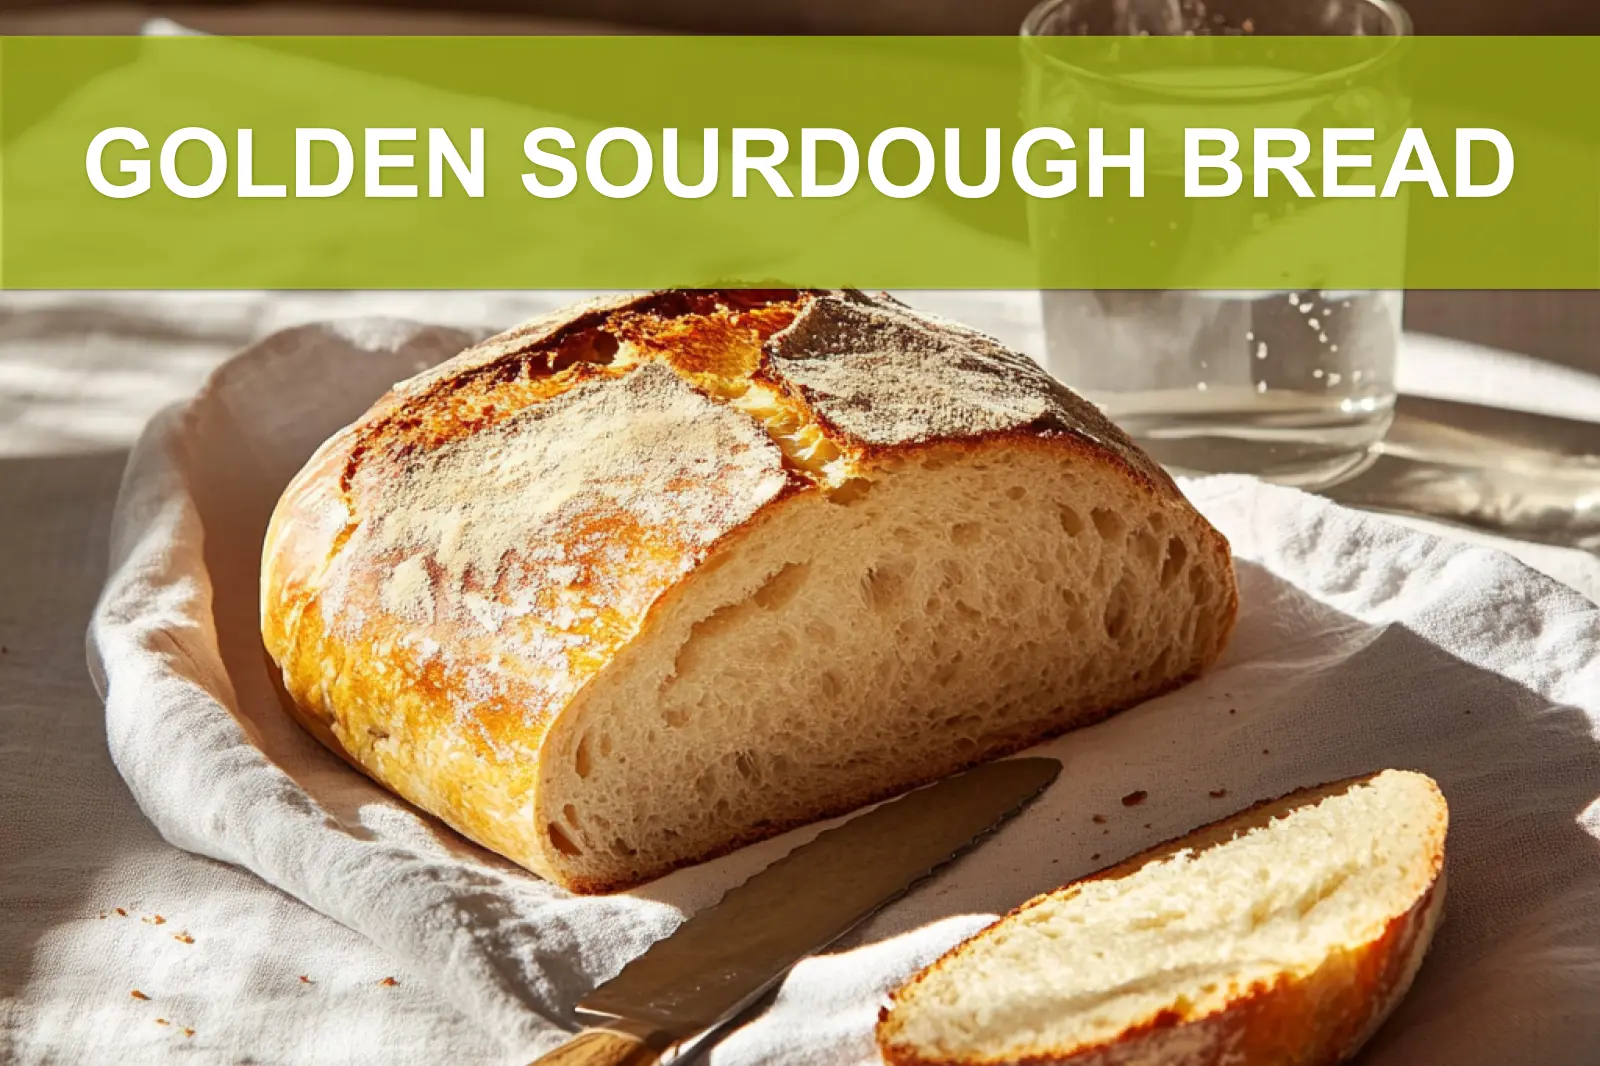
Golden Sourdough Bread: Remarkably Easy and Delicious
Ingredients
Method
- In a large mixing bowl, combine 4 cups of flour and 1⅔ cups of warm water.
- Stir until a shaggy dough forms, then let it rest for 30 minutes.
- After resting, add 1 cup of active sourdough starter and 2 teaspoons of salt.
- Mix well until everything is fully combined.
- Cover the bowl with a clean towel or plastic wrap.
- Let the dough sit at room temperature.
- Every 30 minutes for 2 hours, perform a set of stretch and folds.
- To stretch and fold, pull one side of the dough upward and fold it over itself.
- Turn the bowl a quarter turn and repeat three more times.
- After the final fold, cover the bowl again and let the dough rise for 6 to 8 hours.
- It should double in size and appear bubbly and puffy.
- Gently transfer the dough to a lightly floured surface.
- Shape it into a round or oval loaf by folding and tucking the edges underneath.
- Place the shaped dough seam-side up into a floured proofing basket or towel-lined bowl.
- Cover and refrigerate for 8 to 12 hours.
- The next day, place a Dutch oven into your oven and preheat to 450°F (232°C).
- Remove the dough from the fridge and turn it out onto parchment paper.
- Score the top of the dough with a sharp knife or razor blade.
- Carefully lower the dough into the hot Dutch oven using the parchment paper.
- Cover and bake for 20 minutes.
- Remove the lid and bake uncovered for another 25 minutes.
- Take the bread out of the Dutch oven and let it cool completely on a wire rack before slicing.
Notes
- For best results, use a well-fed active starter and allow the dough to ferment until bubbly. Store leftovers wrapped in a cloth at room temperature for up to 2 days or freeze slices for longer storage.


