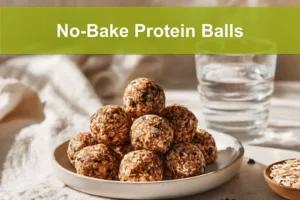
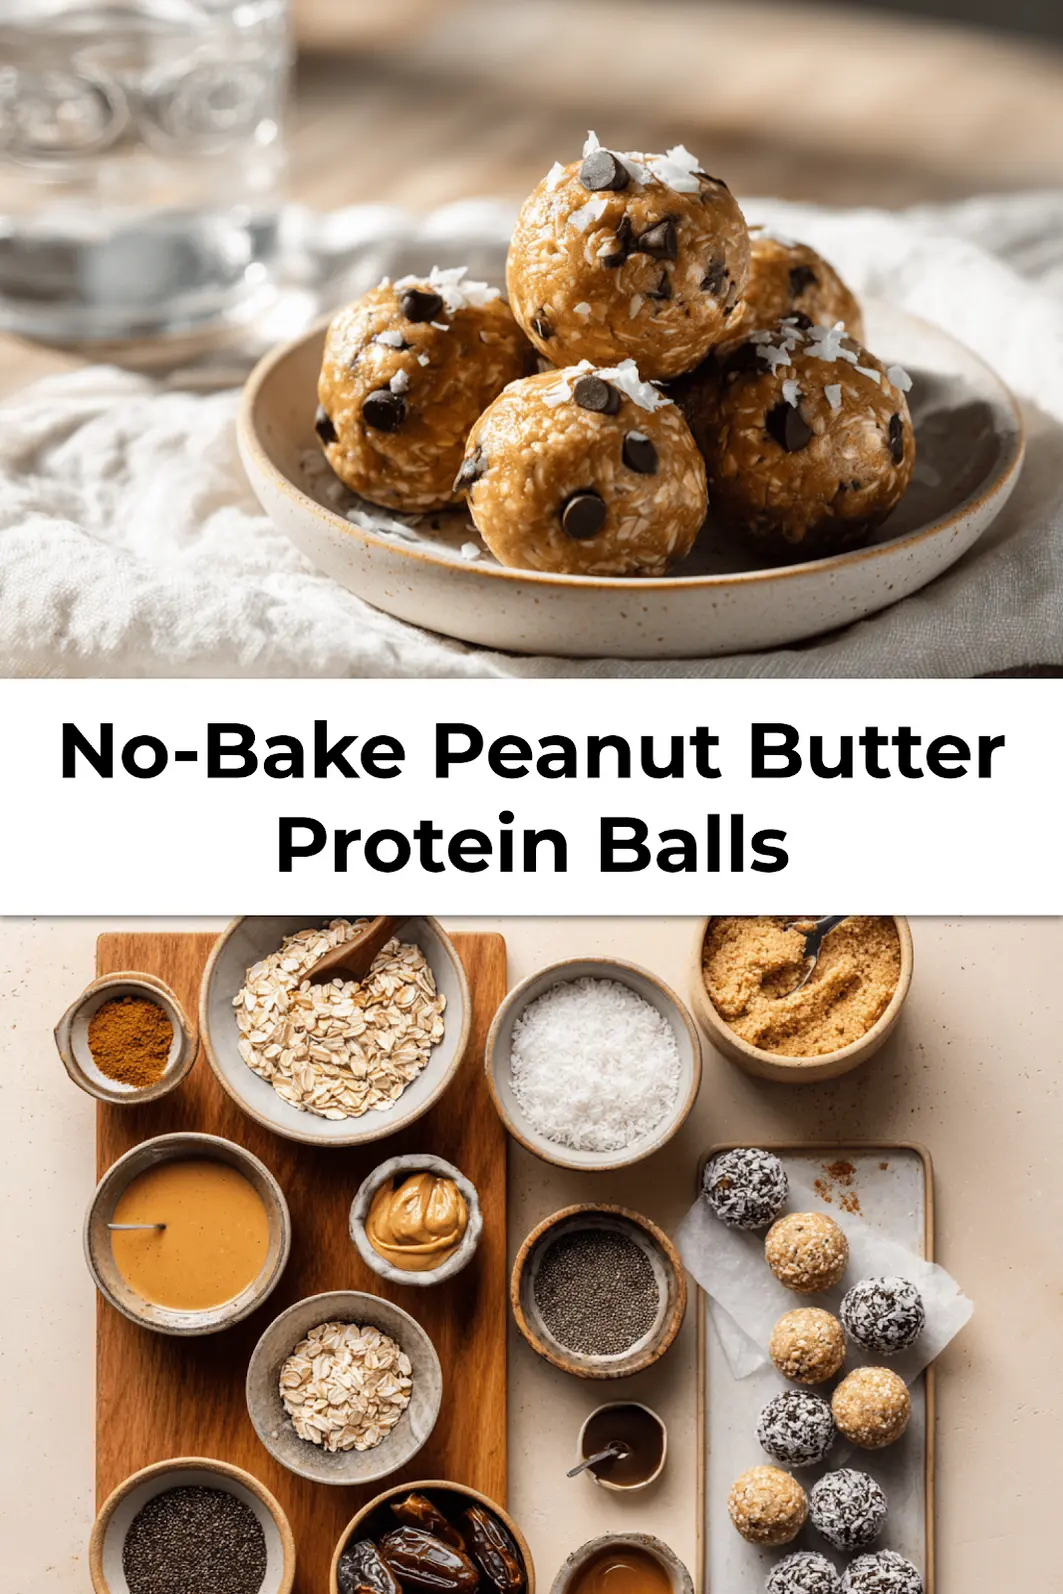
Every summer, my aunt kept a tin of homemade snacks by the back doorjust grab and go. That easygoing vibe is back, thanks to these No-Bake Peanut Butter Protein Balls. They’re nostalgic, Pinterest-perfect, and wildly easy to makejust mix, roll, and chill. You’ll be snacking in under 10 minutes.
These tasty bites are creamy, nutty, and naturally sweetened. With ingredients like peanut butter, oats, and maple syruppantry staples for manythey’re like the nutritious cousin of cookie dough. Read on for the full recipe and tips!
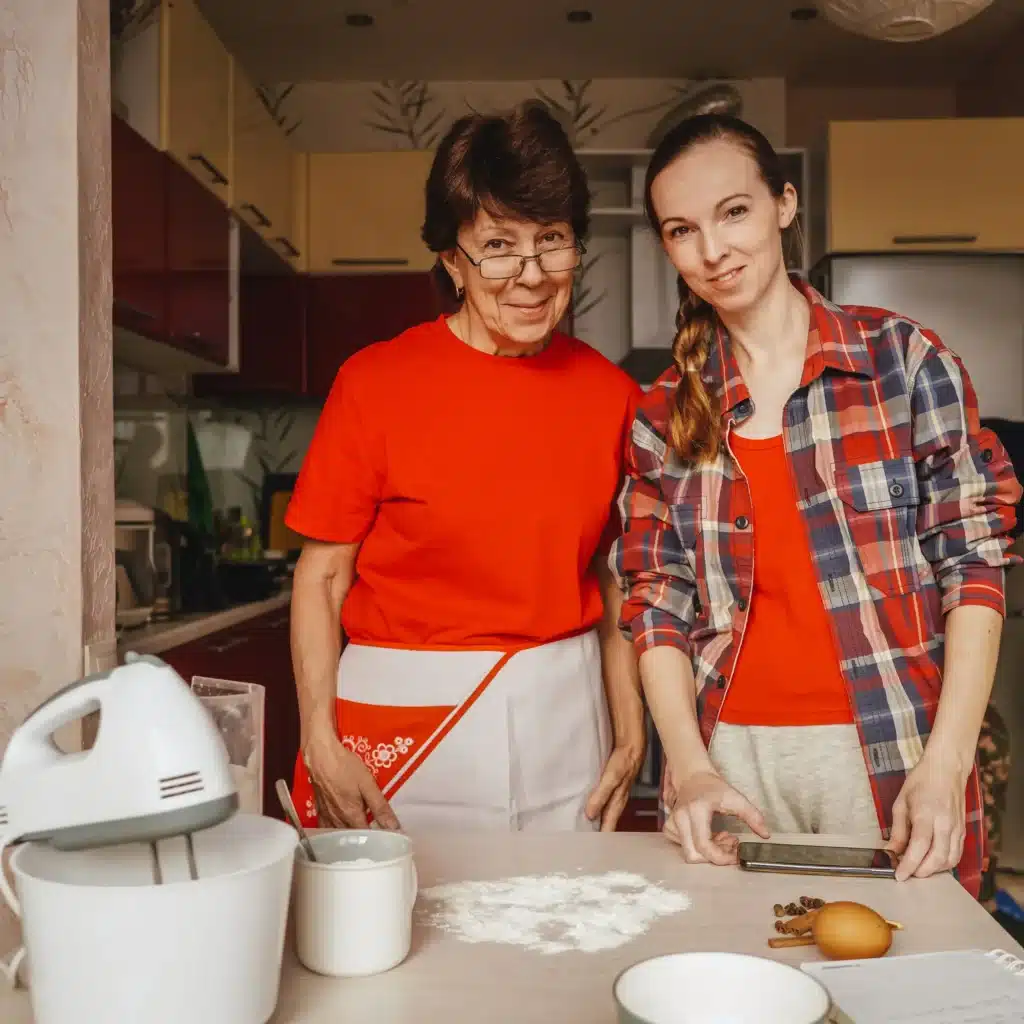
I grew up making peanut butter treats with my grandmasticky hands, big laughs, and snacks that lasted all week. These are a modern, healthier take but still deliver that familiar, cozy flavor. I tested the recipe three ways to find the perfect balance of texture and taste. Wait ‘til you hear the tweak that made all the difference!
Why You’ll Love These No-Bake Peanut Butter Protein Balls
These protein balls are a triple threat: easy, healthy, and downright addictive. Whether you’re looking for a quick snack, a post-workout bite, or a cozy treat for busy afternoons, they’ve got you covered. Here’s why they shine:
- No baking required – perfect for keeping things cool and simple, especially in summer.
- Budget- and pantry-friendly – you probably already have most of these ingredients at home.
- Completely customizable – feel free to swap ingredients and make them your own.
- Nostalgic comfort – they taste like a peanut butter hug from your childhood!
Ingredient Breakdown
Let’s take a closer look at what goes into these protein balls. Each ingredient plays a vital role, creating the perfect bite-sized, nutrient-packed treat:
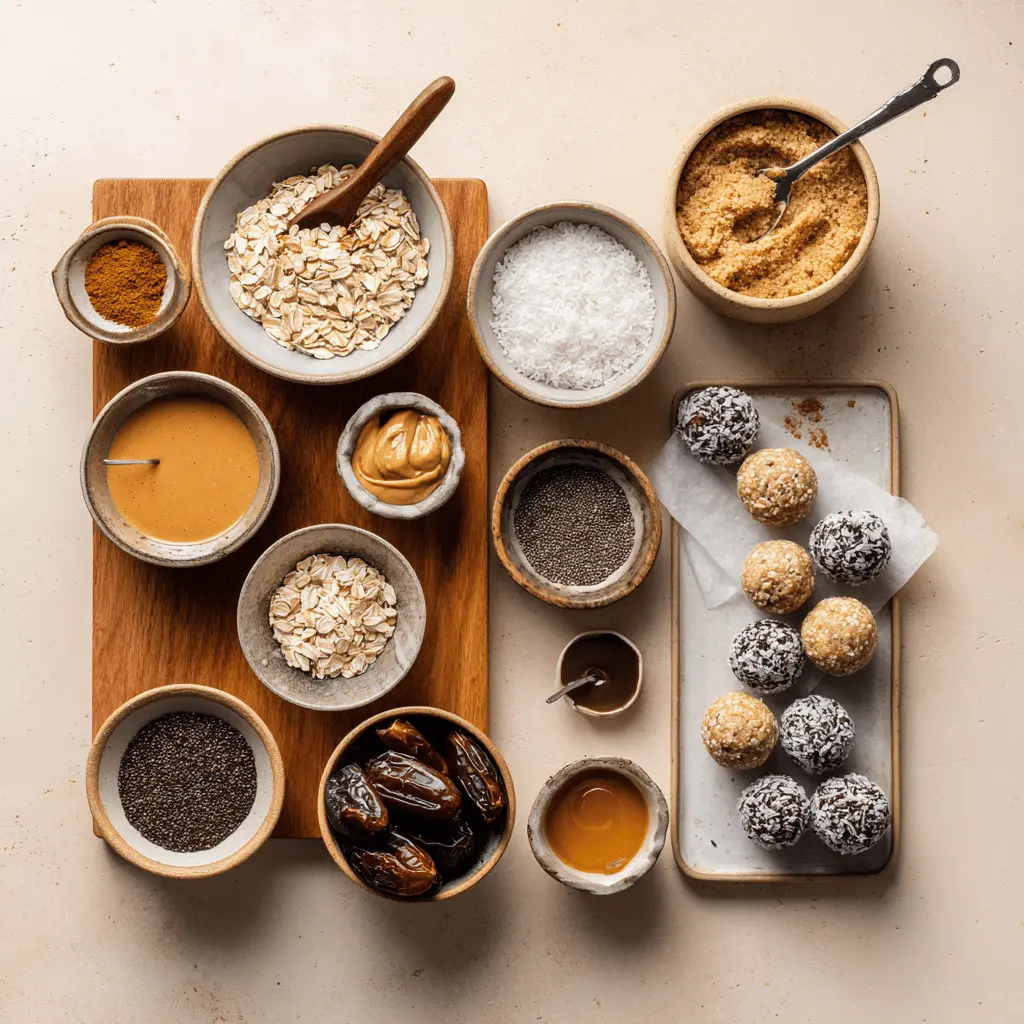
- Rolled oats: The base that adds fiber and chewiness. Use old-fashioned oats for best results.
- Peanut butter: Creamy or chunky workspacked with protein and healthy fats.
- Honey or maple syrup: Sweetness and stickiness rolled into one. Maple syrup keeps it vegan.
- Protein powder: Adds a protein boost. Use your favorite flavorvanilla and chocolate work well.
- Chopped dates: A chewy, naturally sweet addition that blends well and complements the nutty base.
- Chia seeds: Optional, but loaded with omega-3s, protein, and fiberplus a lovely bit of crunch.
- Vanilla extract: Adds that warm, comforting flavor and pulls all the ingredients together beautifully.
| Ingredient | Amount | Notes |
|---|---|---|
| Rolled oats | 1 cup | Old-fashioned oats work best; avoid quick-cook or instant oats. |
| Peanut butter | 1/2 cup | Use unsweetened natural peanut butter or regular, depending on your preference. |
| Honey or maple syrup | 1/3 cup | Maple syrup for a vegan-friendly version; adjust sweetness to taste. |
| Protein powder | 1/4 cup | Choose based on flavor preference and dietary needsplant-based, whey, or casein. |
| Chopped dates | 1/4 cup | Soak in warm water for 5–10 minutes if your dates are dry or firm. |
| Chia seeds | 1 tbsp | Optional but recommended for texture and nutrients. |
| Vanilla extract | 1 tsp | A must for extra depth of flavoreven in “no-bake” recipes. |
How to Make No-Bake Peanut Butter Protein Balls
This recipe is perfect for beginners and busy folks. Here’s how you can make these delicious bites in just a few steps:
- Combine: In a medium bowl, combine oats, peanut butter, honey or maple syrup, protein powder, chopped dates, chia seeds, and vanilla. Stir until well blended. If the mixture feels dry, add 1–2 teaspoons of milk or water. Too sticky? Add a sprinkle of oats.
- Roll: Use a cookie scoop or spoon to portion the mixture, rolling each into a 1-inch ball. Don’t worry about perfectionjust aim for consistency.
- Chill: Arrange the balls on a parchment-lined baking sheet or plate. Freeze for 30 minutes to help them firm up and retain shape.
- Store: Transfer to an airtight container. Refrigerate for up to 1 week or freeze for longer storage.
| Step | Timing | Notes |
|---|---|---|
| Mix ingredients | 5 minutes | Adjust with extra oats or liquid until you reach a moldable dough. |
| Roll into balls | 5 minutes | A small scoop or damp hands make rolling easier. |
| Chill | 30 minutes | Sets shape and firms texture for grab-and-go snacking. |
Tips and Ingredient Swaps
Make these fit your cravings or kitchen inventory with a few simple tweaks:
- Nut butters: Sub peanut butter with almond, cashew, or sunflower seed butter for allergy-friendly versions.
- Sweeteners: Maple syrup or agave syrup are great plant-based options. Adjust quantity to taste.
- Add-ins: Mix in mini chocolate chips, shredded coconut, hemp seeds, or a dash of cinnamon for fun flavor boosts.
- Texture fixes: Too wet = more oats; too dry = a splash of milk or more peanut butter.
| Ingredient | Swap Option | Notes |
|---|---|---|
| Peanut butter | Almond or cashew butter | Creates a different flavor and is often suitable for allergy-sensitive diets. |
| Honey | Maple syrup or agave | All vegan-friendly, but vary in sweetnesstaste as you go. |
| Chia seeds | Hemp seeds or flaxseeds | Keep the nutritional boost while offering variety. |
Storage Tips
Make these ahead and you’ll always have delicious snacks on hand. Here’s how to store them properly:
- Fridge: Keep in an airtight container for up to 1 week. Great for meal prep!
- Freezer: Freeze for up to 3 months. Arrange in layers with parchment to prevent sticking.
- Quick Tip: Before serving, thaw frozen balls at room temperature for 5–10 minutes, or enjoy straight from the freezer for a firmer texture.
| Storage Method | Time Frame | Details |
|---|---|---|
| Fridge | 1 week | Best for quick daily snacking. Keep sealed for freshness. |
| Freezer | 3 months | Great for batch prep. Bring to room temp before eating. |
Expert Insight: The Science Behind No-Bake Peanut Butter Protein Balls
No-bake peanut butter protein balls offer an energy-packed combo of healthy fats, plant or whey-based protein, fiber, and natural sugars. Because there’s no heat involved, essential nutrientsespecially those in seeds, nuts, and protein powderstay intact. They’re ideal for fueling up before or after workouts and can easily fit into a balanced, convenient snack routine.
For more delicious recipes and cooking inspiration, follow me on Facebook, Pinterest and Reddit!
How I Perfected My No-Bake Peanut Butter Protein Balls
After testing multiple batchesone too dry, another sticking to handsI finally got the texture and flavor just right. The key was soaking the dates slightly and using just enough sweetener to bind everything. The result? A chewy, energizing snack that’s equal parts wholesome and satisfying.
FAQs ( 5-Ingredient No-Bake Peanut Butter Protein Balls Recipe )
Conclusion
No-Bake Peanut Butter Protein Balls come together in just minutes, making them a go-to snack for busy schedules. Their nutty, chewy texture and customizable recipe make them a hit with kids and adults alike.
Swap in your favorite nut butters or toss in extra mix-ins like coconut or chocolate chips to make them yours. Keep a batch chilled and you’ll always have a healthy snack on hand to power your dayjust ask my farmers’ market friends, who swear by prepping these weekly!
Did this recipe stir up sweet memories? Snap a photo, share your version, and tag it with your own tweaks. Let’s keep cozy, homemade snacking alive across generationsjust like my aunt’s summer snack tin by the back door.
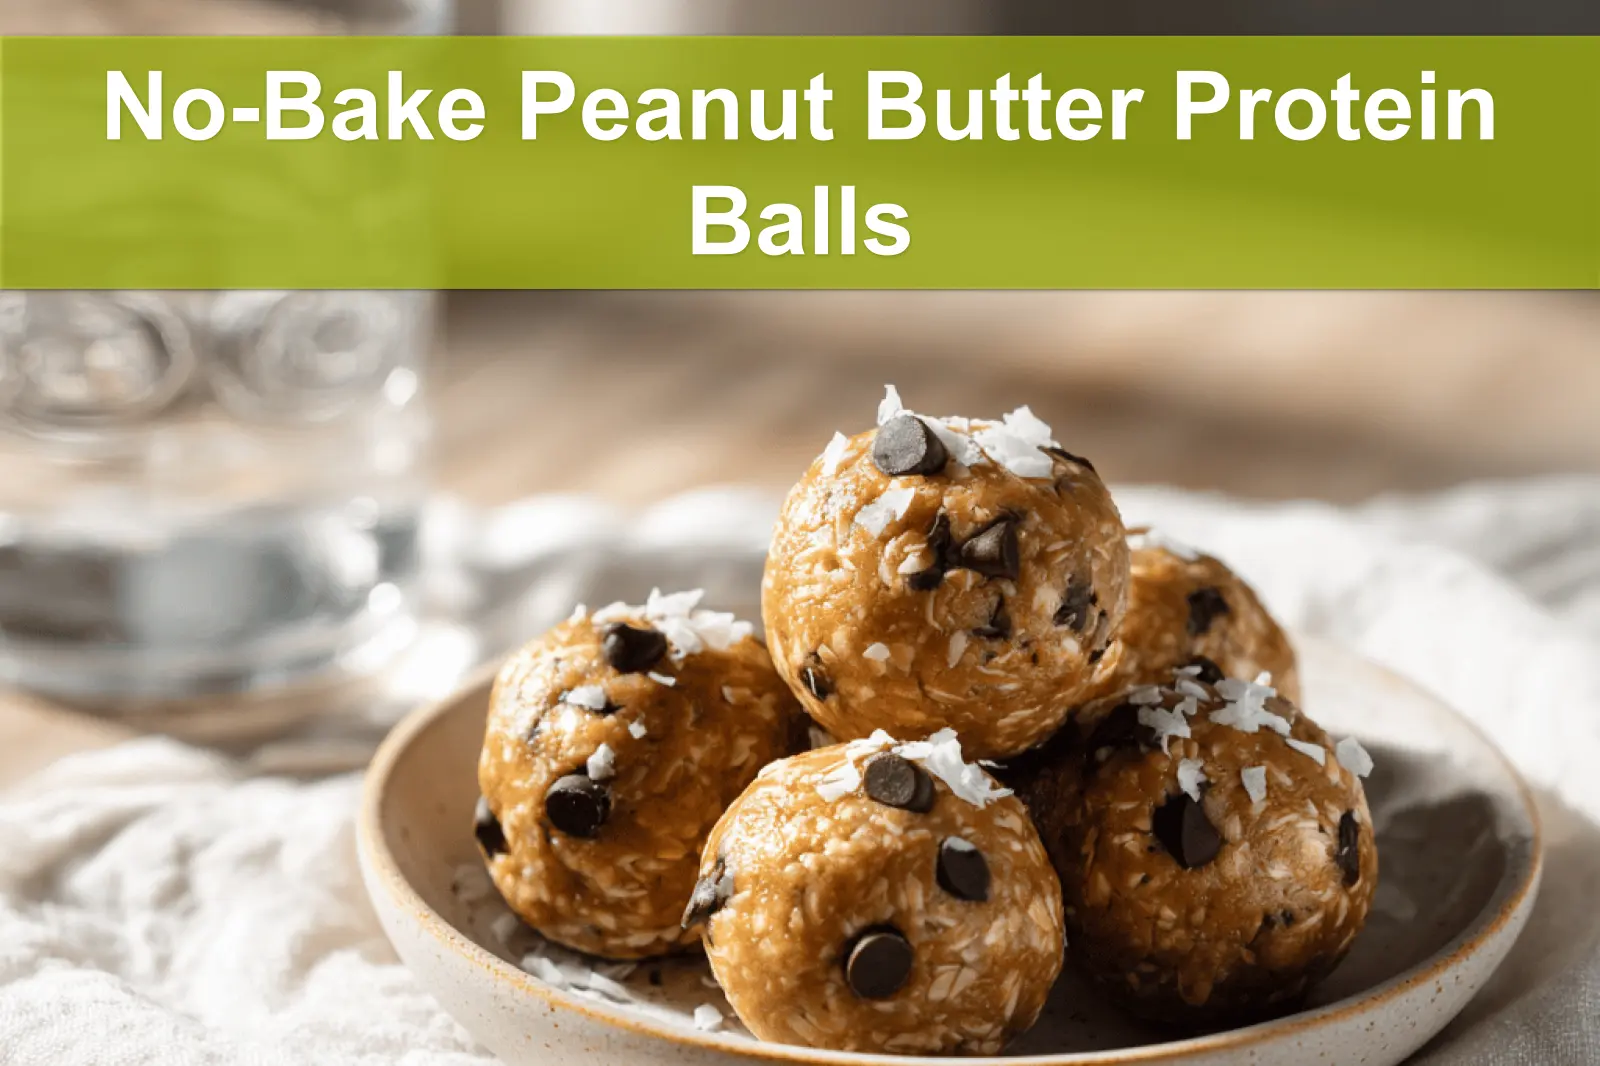
No-Bake Peanut Butter Protein Balls: Easy and Irresistible
Ingredients
Method
- Combine all ingredients in a medium bowl.
- Mix until well combined. If the mixture is too dry, add a teaspoon of water or milk. If too wet, add a tablespoon of oats.
- Roll the mixture into small balls, about 1 inch in diameter.
- Place the protein balls on a baking sheet lined with parchment paper.
- Freeze for at least 30 minutes to firm up.
- Transfer the protein balls to an airtight container and store in the freezer.
Notes
- For a different flavor, try almond butter or cashew butter instead of peanut butter. Add mini chocolate chips or shredded coconut for extra texture and flavor. These protein balls can be stored in the refrigerator for up to a week or in the freezer for up to 3 months.

