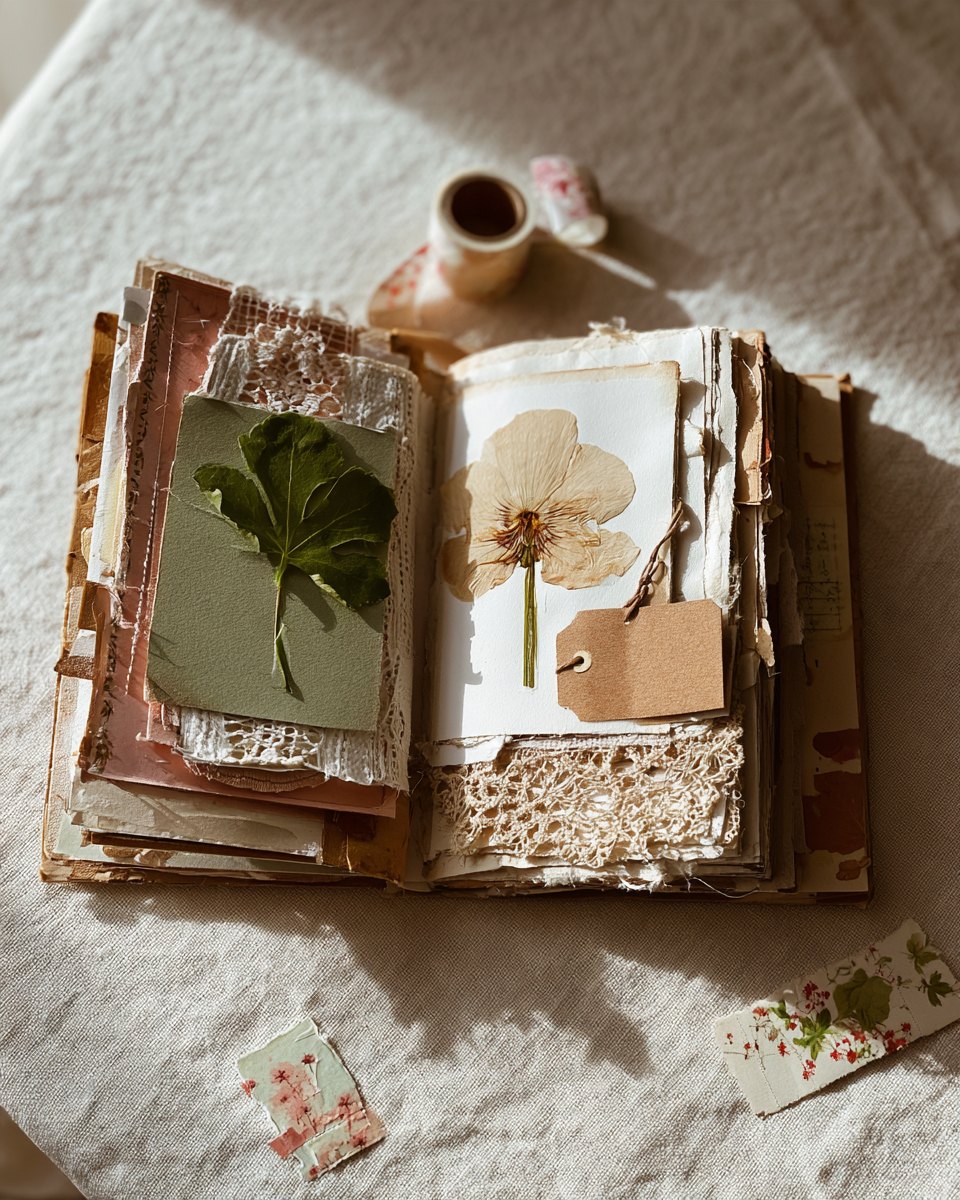
If you have ever saved a pretty paper bag, a ticket stub from a great day, or a postcard you just could not throw away, you are already halfway to your first junk journal. These junk journal ideas for beginners will help you turn that little pile of treasures into a handmade book you will love to flip through for years.
A junk journal is a journal made from “junk”: old book pages, envelopes, tags, lace, receipts, photos and all the bits of paper that tell the story of your days. There is no right way to make one. Still, a few simple rules make the first pages much easier, especially when you are staring at a blank notebook and wondering where to start.
Below you will find our 10 favorite rules, real tips for each one, and a free printable checklist so you can gather your supplies in one go.
Rule 1: Start With What You Already Have
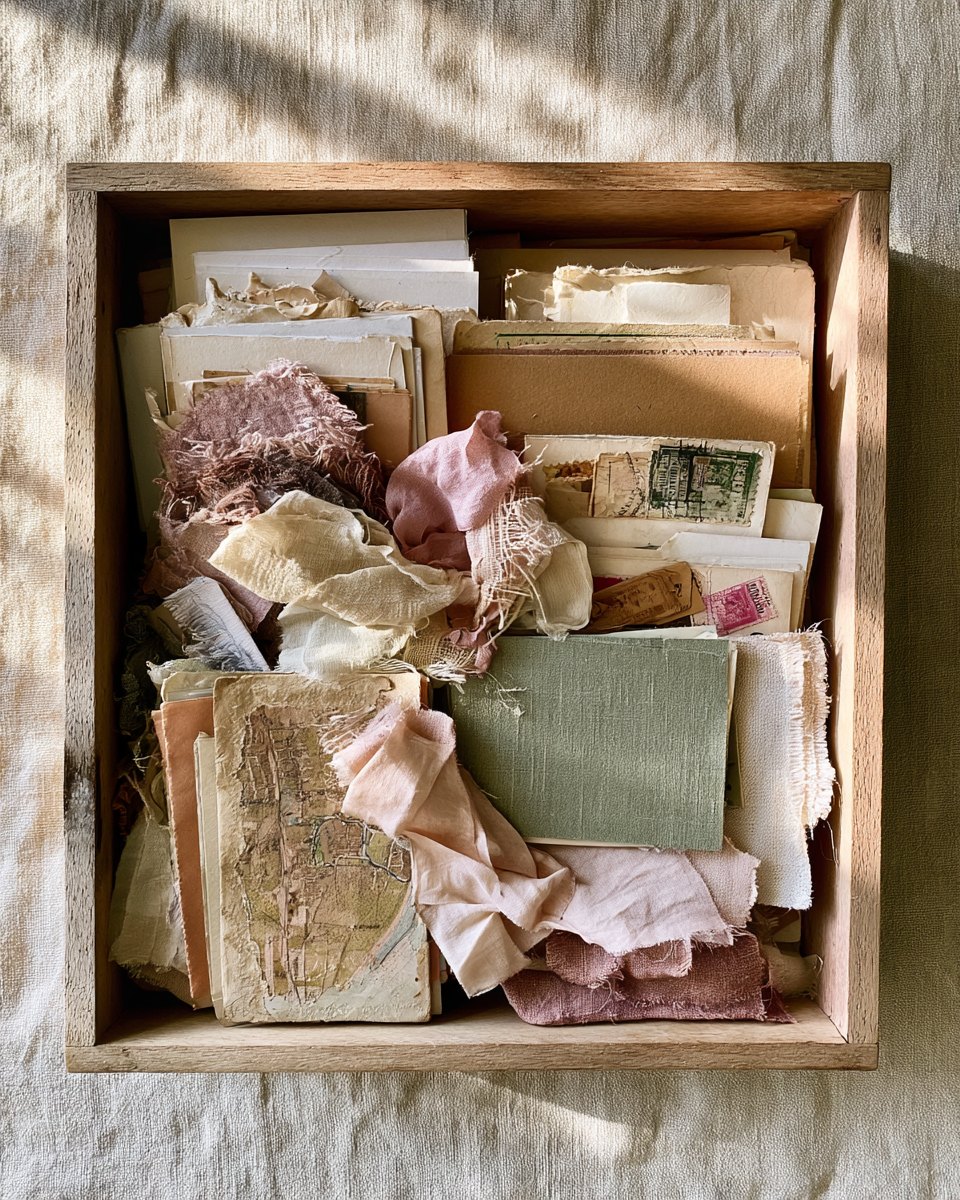
You do not need a craft store haul to begin. Open your junk drawer, your recycling bin and that box of old cards in the closet. Most first journals are built almost entirely from things people already own, and that is exactly what gives them their charm.
Spend one evening gathering, not making. Put everything on the table, sort it into loose piles (papers, pictures, small bits), and simply enjoy what you find. You will be surprised how many pages are hiding in plain sight.
- Look for old books with yellowed pages, greeting cards, maps and envelopes.
- Fabric scraps, ribbon and lace from old clothes all work beautifully.
- Keep a “treasure envelope” by the door for ticket stubs and receipts.
- Anything that makes you smile has a place in your journal.
Rule 2: Mix Vintage and New
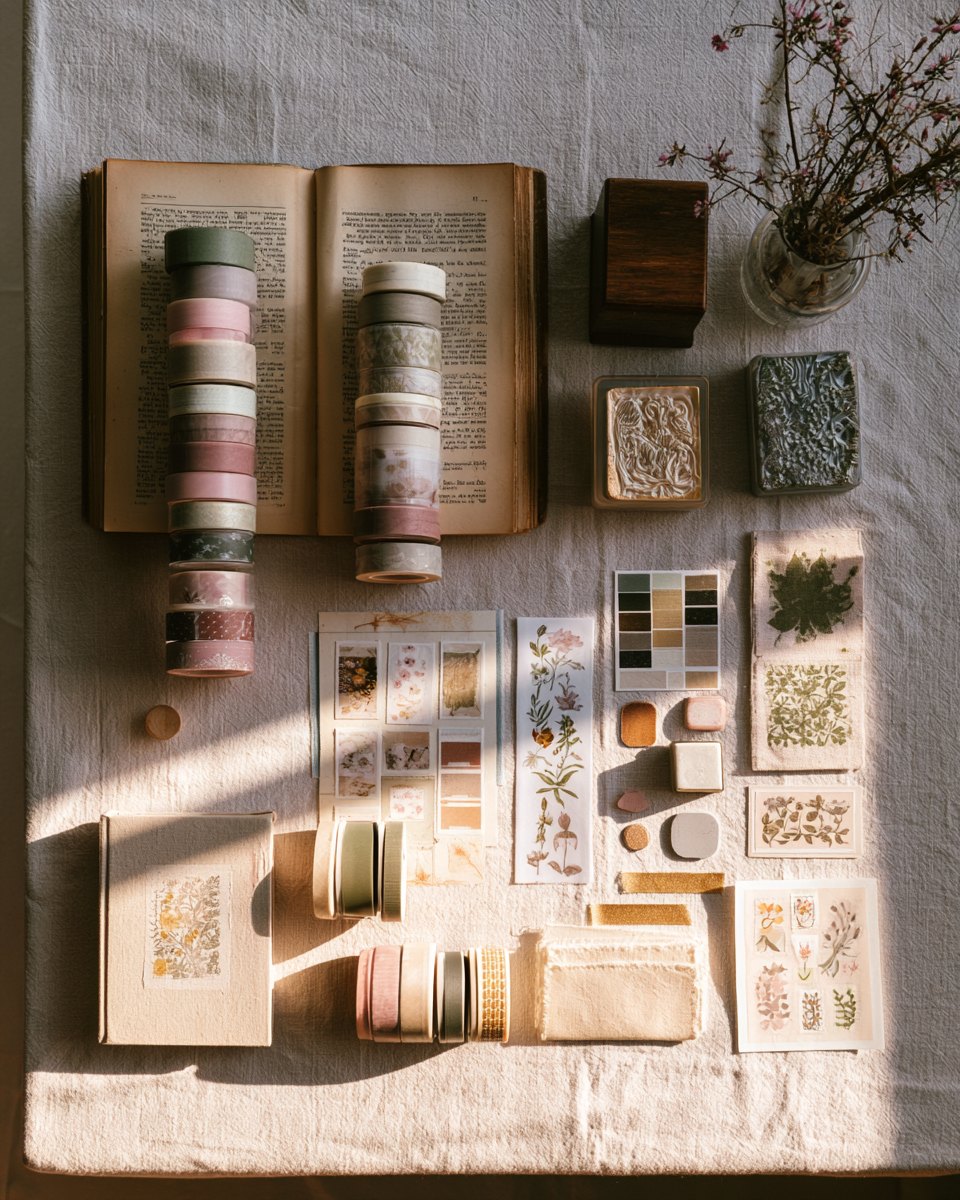
Some of the prettiest junk journal pages put something old right next to something new. A page torn from a 1950s cookbook looks even sweeter with a strip of fresh floral washi tape across the corner. The contrast makes both pieces stand out.
You do not have to choose between a “vintage” journal and a “modern” one. Let thrift store finds sit beside new stickers, stamps and printable papers, and see what feels right to you.
- Pair old book pages with bright washi tape or stickers.
- Use a modern rubber stamp on a vintage envelope.
- Try printable ephemera next to real found paper for a layered look.
Rule 3: Let Imperfection In
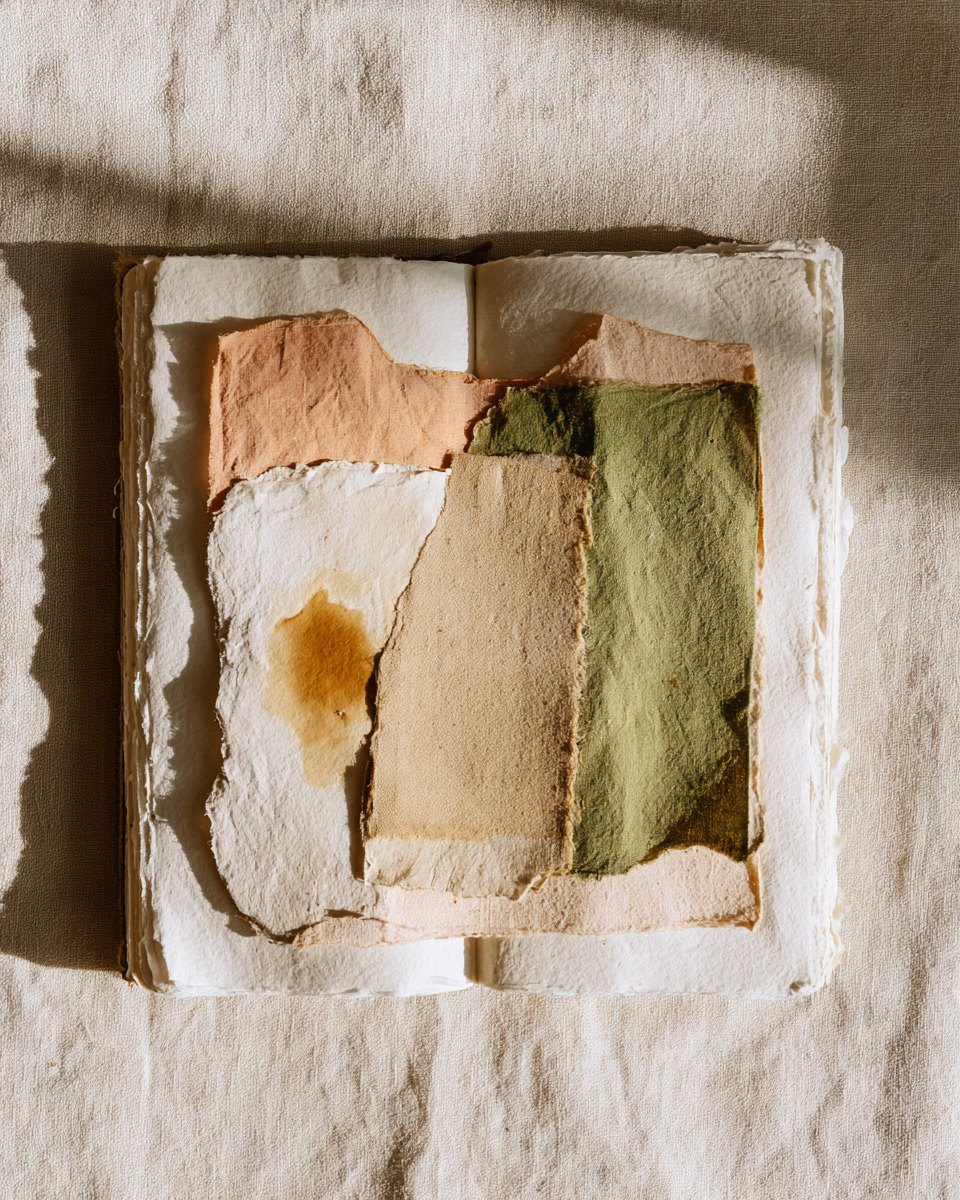
This is the rule most beginners need to hear: your journal does not have to be perfect. Torn edges, crooked photos, a little glue smudge or a coffee ring are not mistakes. They are what makes a junk journal feel lived in and loved.
If a page is not working, glue something on top of it, fold it into a pocket, or simply turn the page. Nobody is grading your journal. The goal is to enjoy the process and keep going.
- Tear paper instead of cutting it for soft, natural edges.
- Rub a little brown ink or tea on edges to make new paper look aged.
- Cover a page you dislike with a big piece of patterned paper and start fresh.
Rule 4: Build in Layers
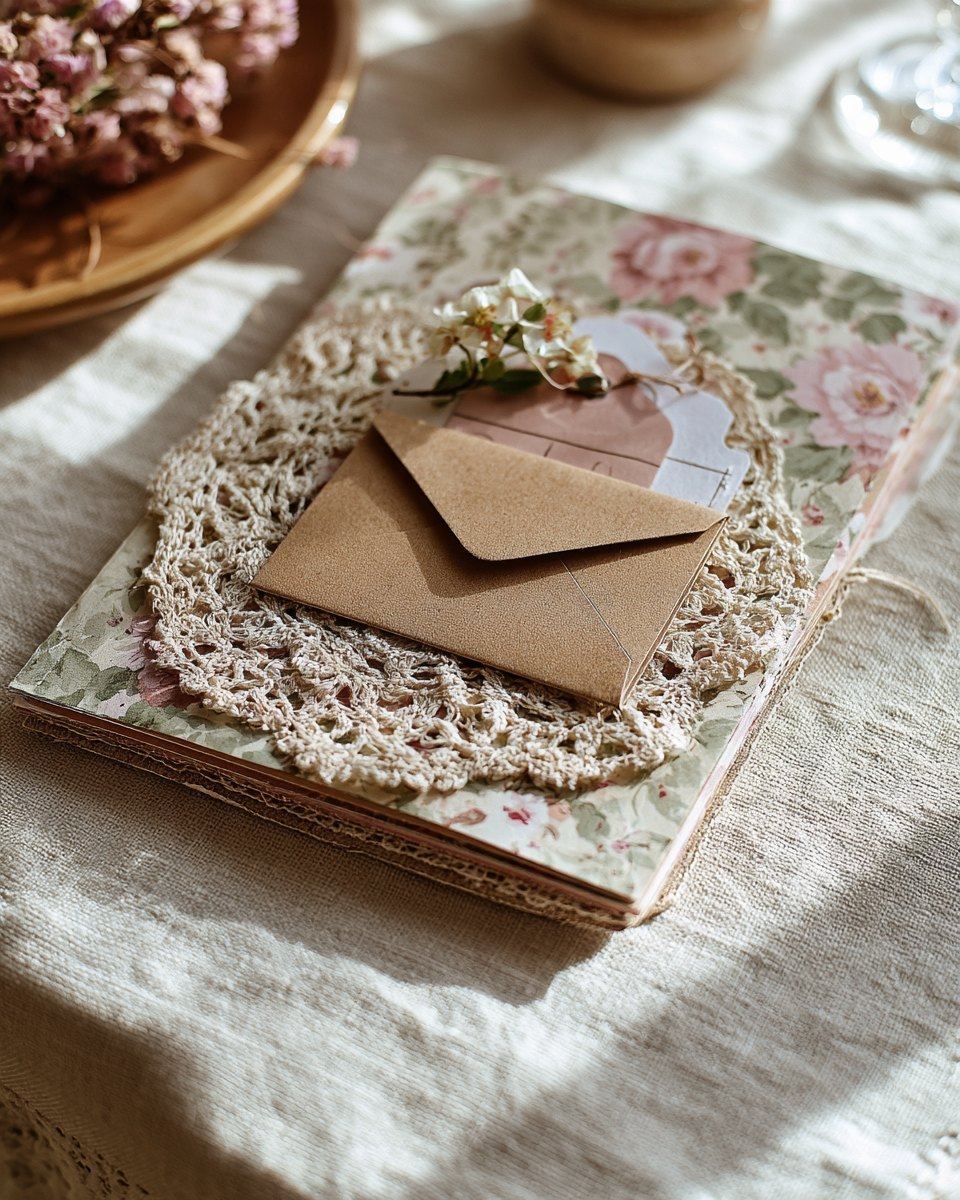
Layering is the secret behind those dreamy, full pages you see on Pinterest. Start with a background paper, add a smaller piece on top, then a doily, a tag, a photo and a strip of tape. Each layer adds depth and gives the eye something new to find.
Work from big to small. Big papers first, then medium pieces, and save the tiny details like buttons and stickers for the very end. If a page feels flat, it usually just needs one more layer.
- Mix textures: smooth paper, lace, kraft board and fabric.
- Tuck a tag or a card behind a photo so only a corner peeks out.
- Glue only part of a layer so you can lift it and hide notes underneath.
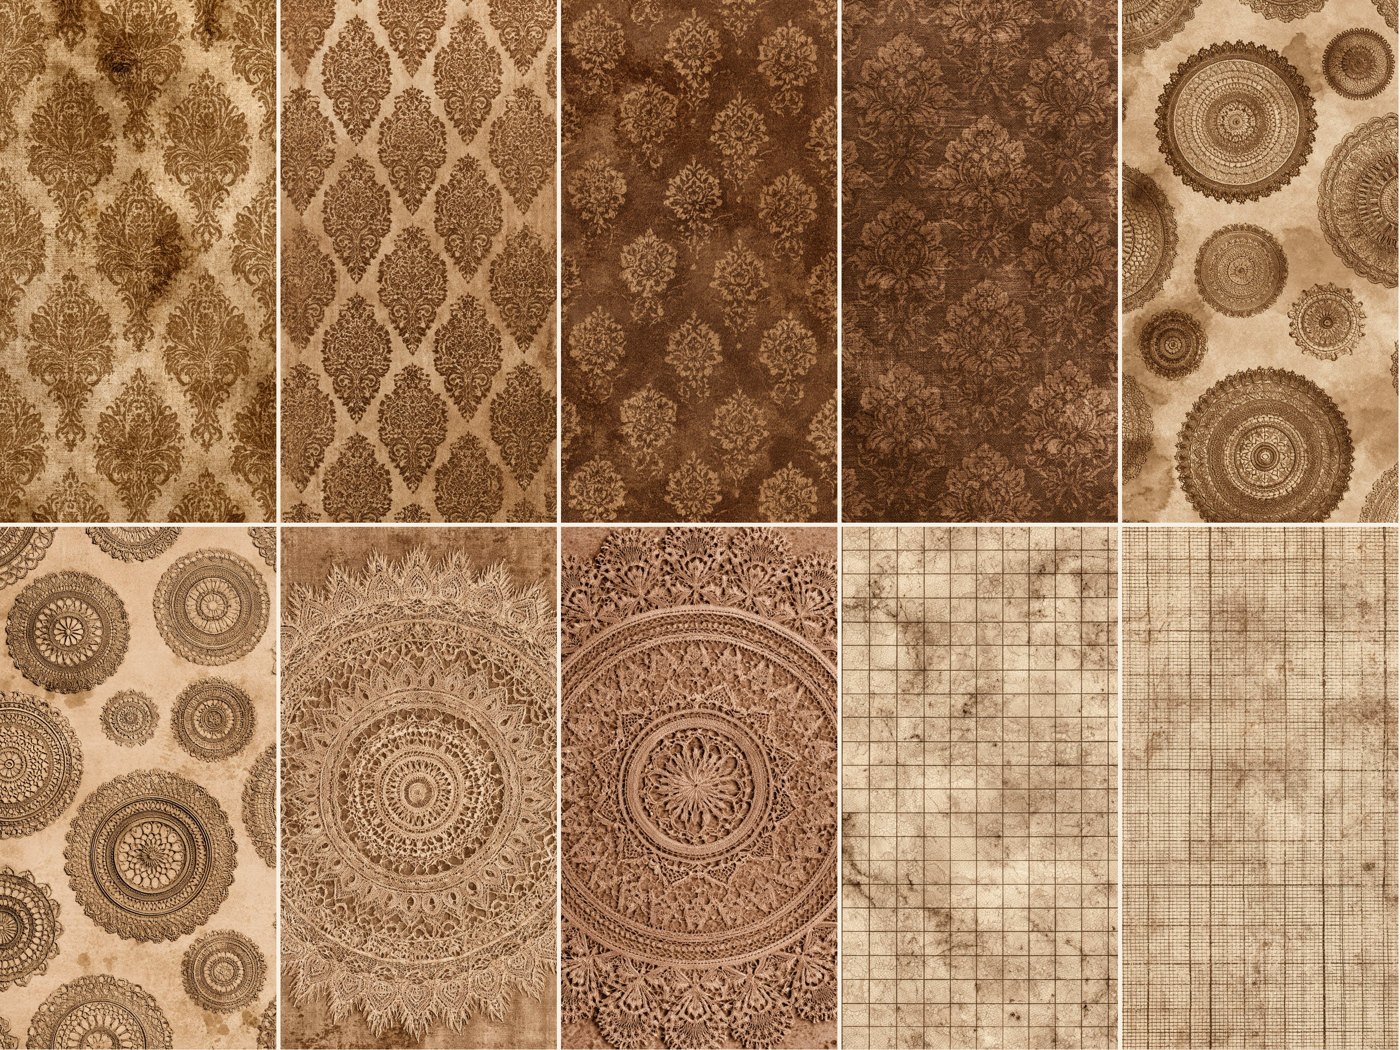 Want layers in minutes?
Our Coffee & Lace printable papers come ready to print, tear and stack.
See the kit on Etsy
Want layers in minutes?
Our Coffee & Lace printable papers come ready to print, tear and stack.
See the kit on Etsy
Rule 5: Leave Room for Your Own Words
A junk journal is not only a collage. It is also a place for your thoughts. Leave a little space on each spread for a date, a quote you love, a memory or a few lines about your day. Years later, those words are often what you treasure most.
If you feel shy about your handwriting, write on a tag or a small card and tuck it into a pocket. Your handwriting is part of your story, and it does not need to be fancy.
- Keep a list of favorite quotes to copy in when you need one.
- Write on tags, labels or the back of envelopes.
- Add a photo with a short caption: who, where, when.

Rule 6: Give Packaging a Second Life
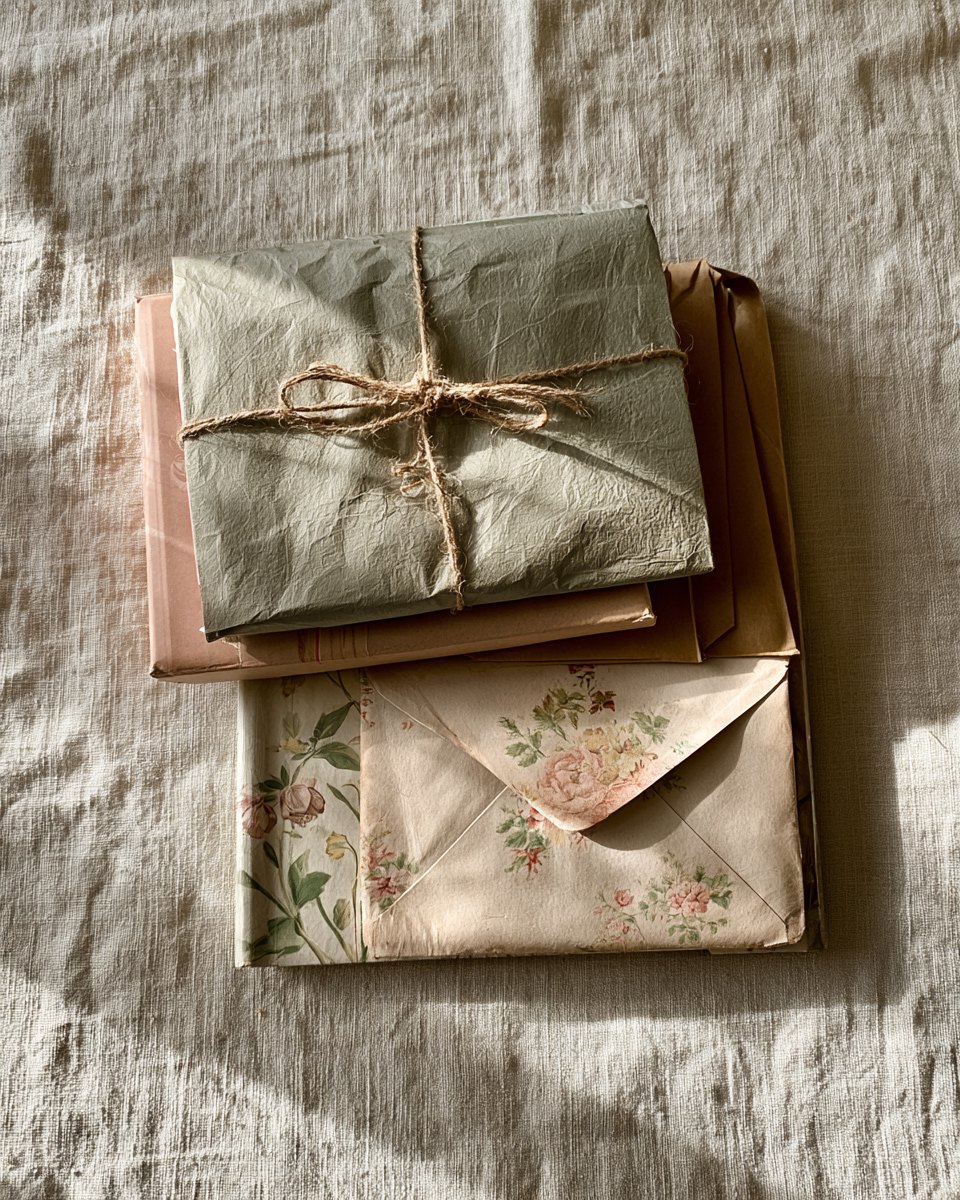
Some of the best journal materials come straight from your kitchen. Cereal boxes make sturdy covers, brown paper bags become lovely kraft pages, and the envelopes from your mail are ready-made pockets. It is thrifty, it is kind to the planet, and it looks wonderful.
Before you throw out packaging, ask yourself: could this be a cover, a page, a pocket or a tag? Once you start looking, you will never see a tea box the same way again.
- Cut cereal or cracker boxes into covers and dividers.
- Fold paper bags in half to make pages with a hidden pocket.
- Save tea tags, labels and pretty wrappers for small details.
Rule 7: Add Little Interactive Extras
The fun of a junk journal is that you can touch it, open it and explore it. Pockets, flaps, fold-outs and tuck spots turn a flat page into a little surprise. Even one pocket per spread makes your journal feel special.
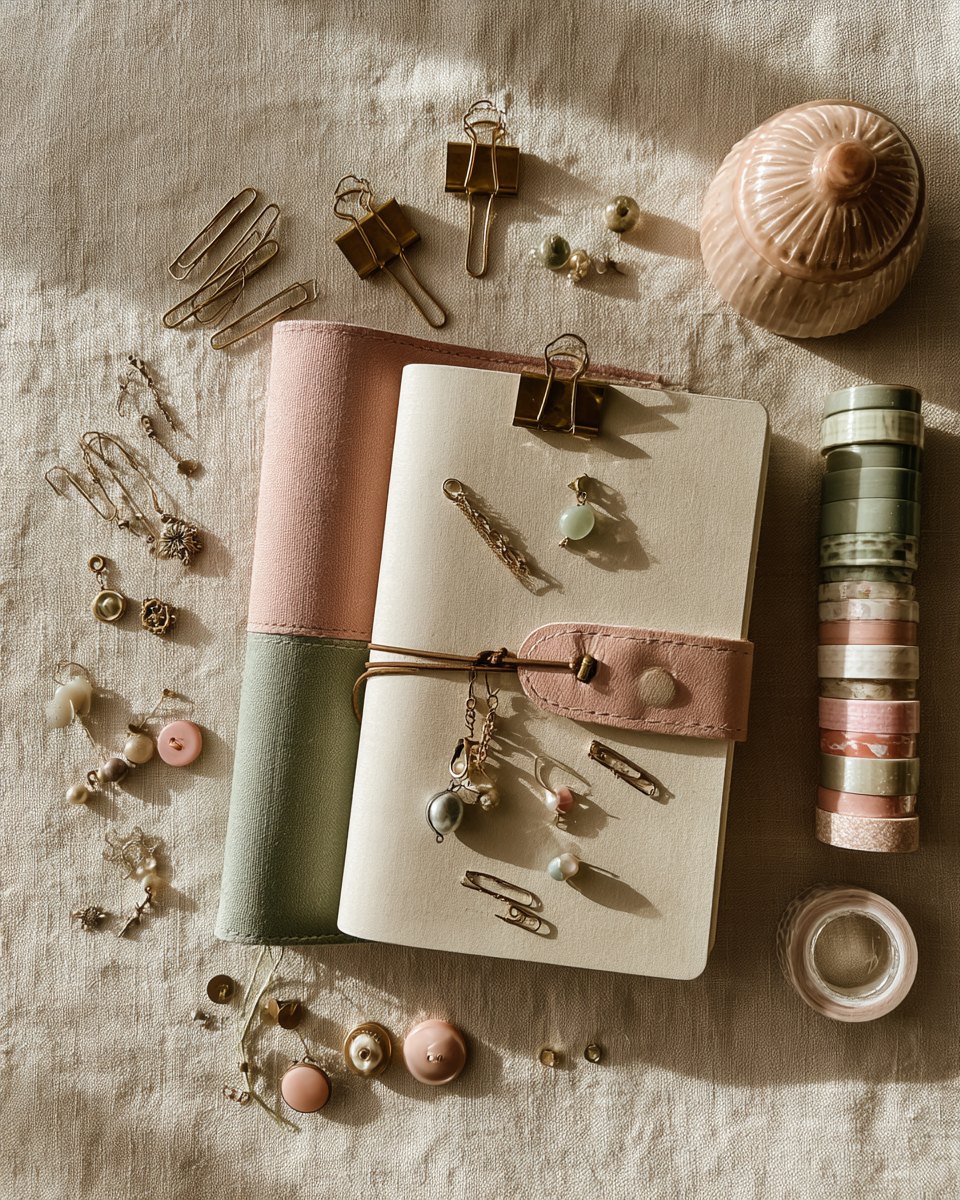
Paper clips, binder clips and tiny charms add a sweet finishing touch, and they hold loose pieces in place while you decide where they belong.
- Glue three sides of an envelope to make an instant pocket.
- Add a fold-out by gluing just one edge of a long strip of paper.
- Clip a few tags together with a paper clip for a mini booklet.
Rule 8: Give Each Spread a Story
When you are not sure what to put on a page, pick one small story. It can be a season, a trip, a family recipe, a favorite song or simply how you felt this week. One idea per spread keeps your pages clear and easy to make.
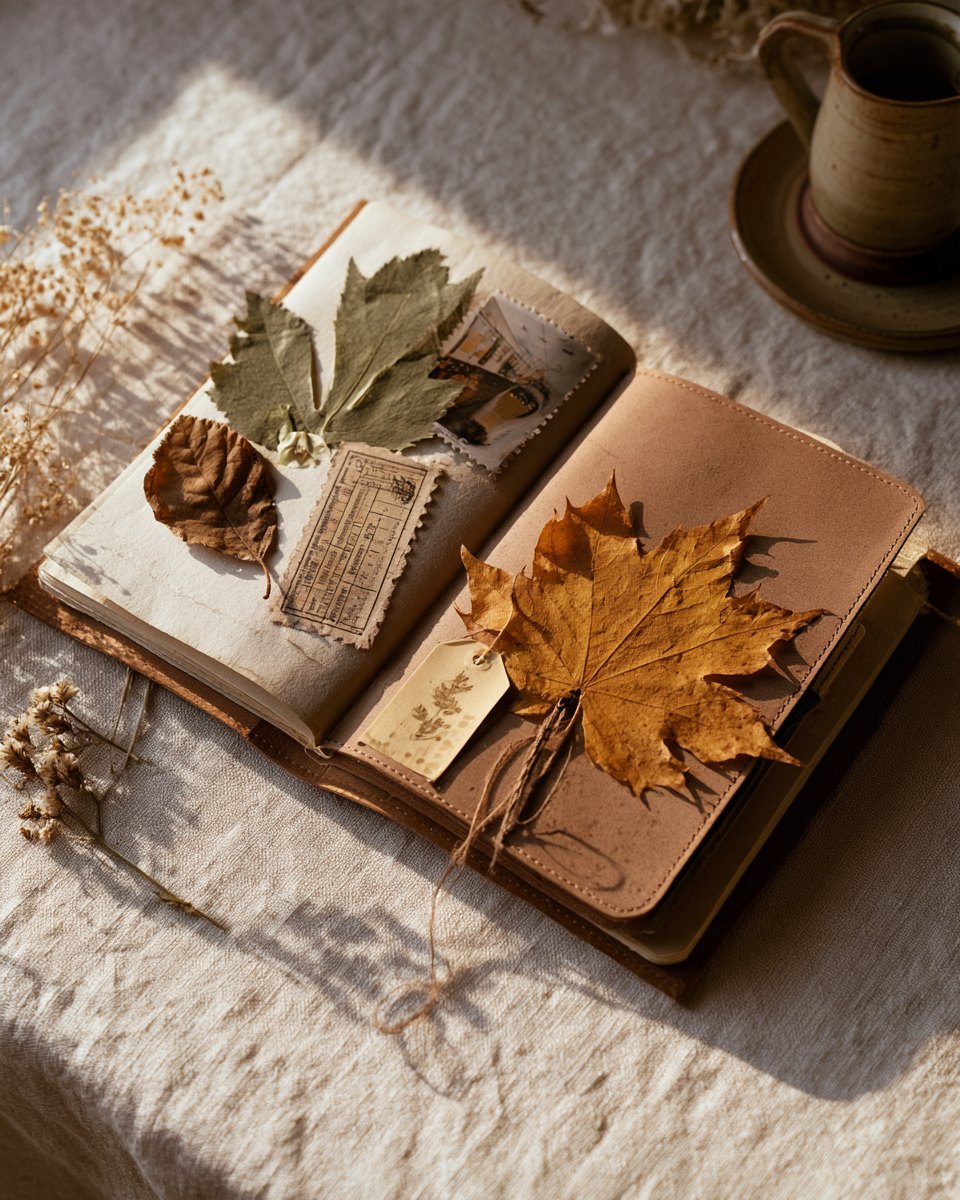
Seasons are a perfect place to start. An autumn spread with pressed leaves, a coffee shop receipt and a photo from an apple orchard almost makes itself.
- Choose a theme first, then gather pieces that match it.
- Stick to two or three colors per spread for a calm look.
- Small moments count: a good cup of tea is a story too.
 Need a ready-made autumn story?
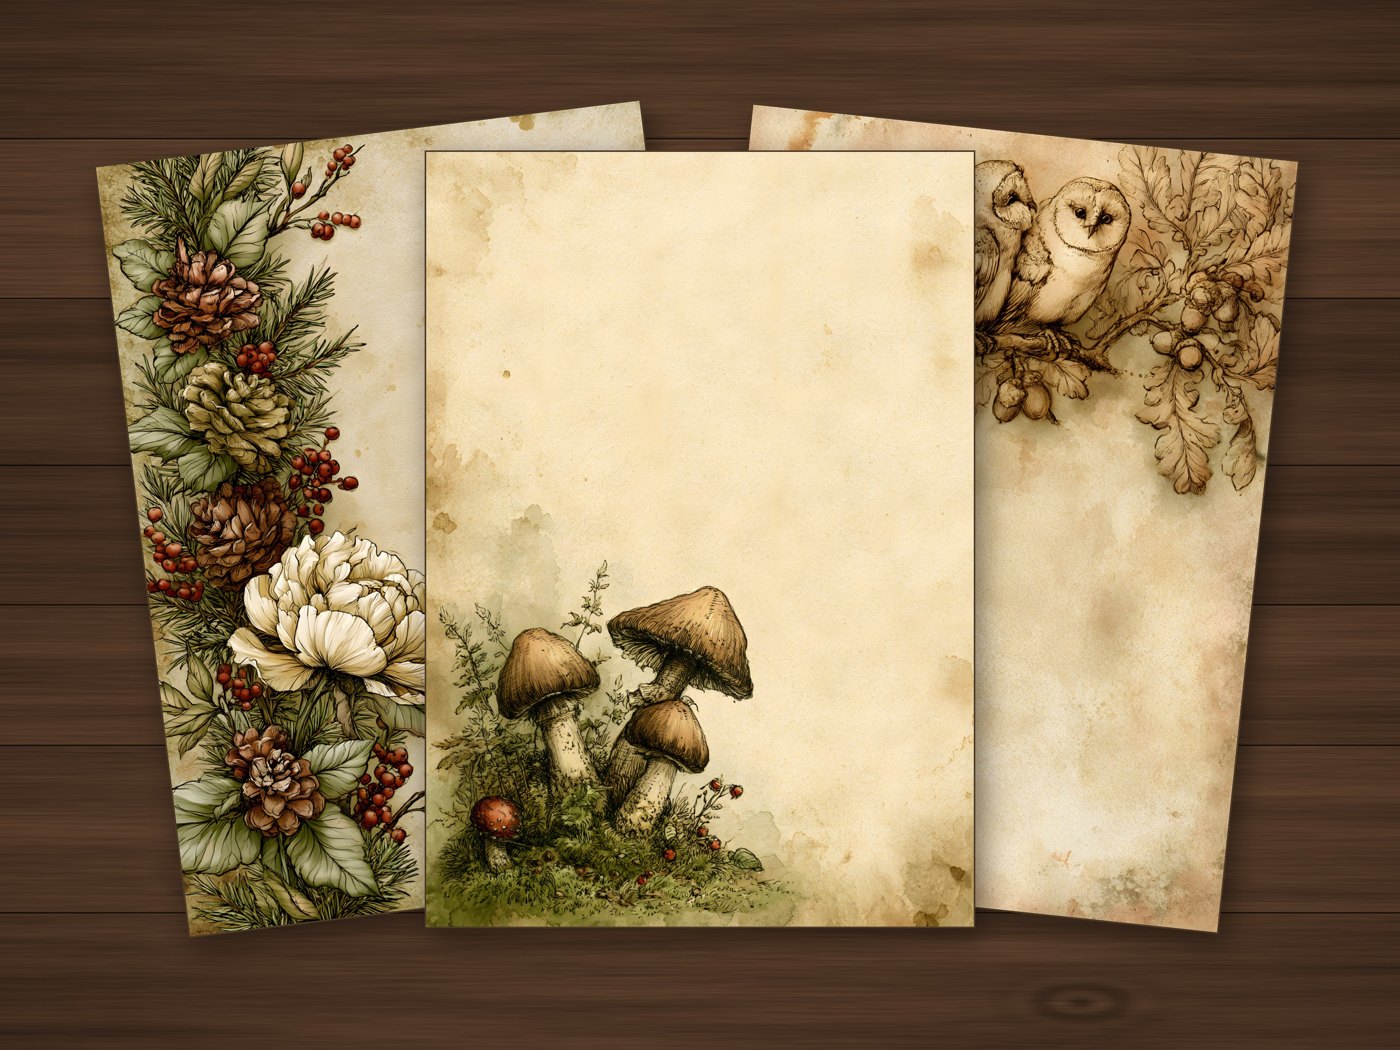
Our Woodland printable pages set the scene for a cozy fall spread.
See the pages on Etsy
Need a ready-made autumn story?
Our Woodland printable pages set the scene for a cozy fall spread.
See the pages on Etsy
Rule 9: Find Your Style by Trying Several
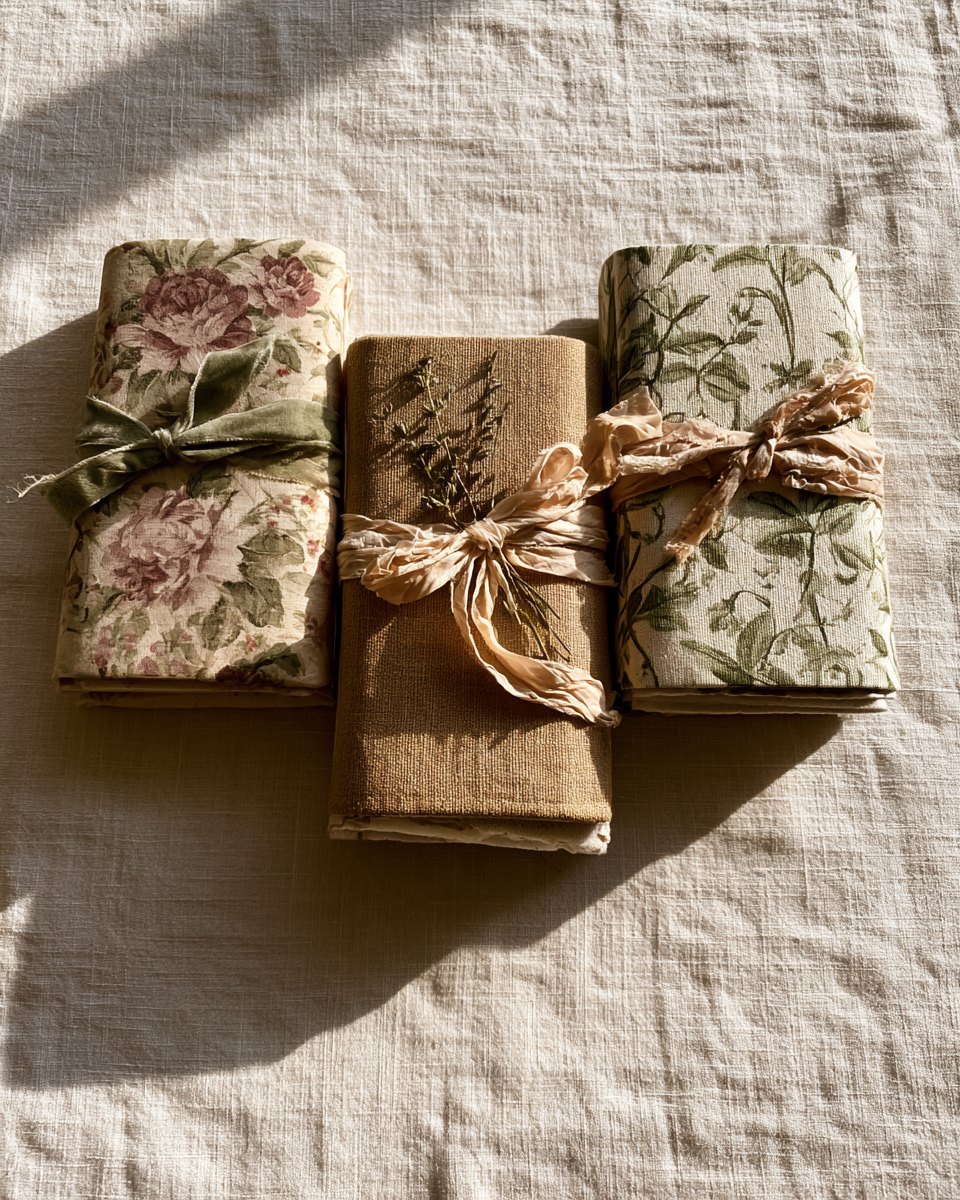
Vintage, shabby chic, rustic, botanical, colorful, minimal: there is no single junk journal style. Most people only discover what they love by trying a few. Make one spread in soft pinks and roses, another in kraft and twine, another in greens and pressed flowers.
Notice which pages you flip back to. That is your style speaking. And if you love them all, that is fine too. Your journal, your rules.
- Save Pinterest pins you love and look for what they have in common.
- Try a “style swap” spread: same layout, two different palettes.
- Make small mini journals to test a style before a big one.
 Love the shabby chic look?
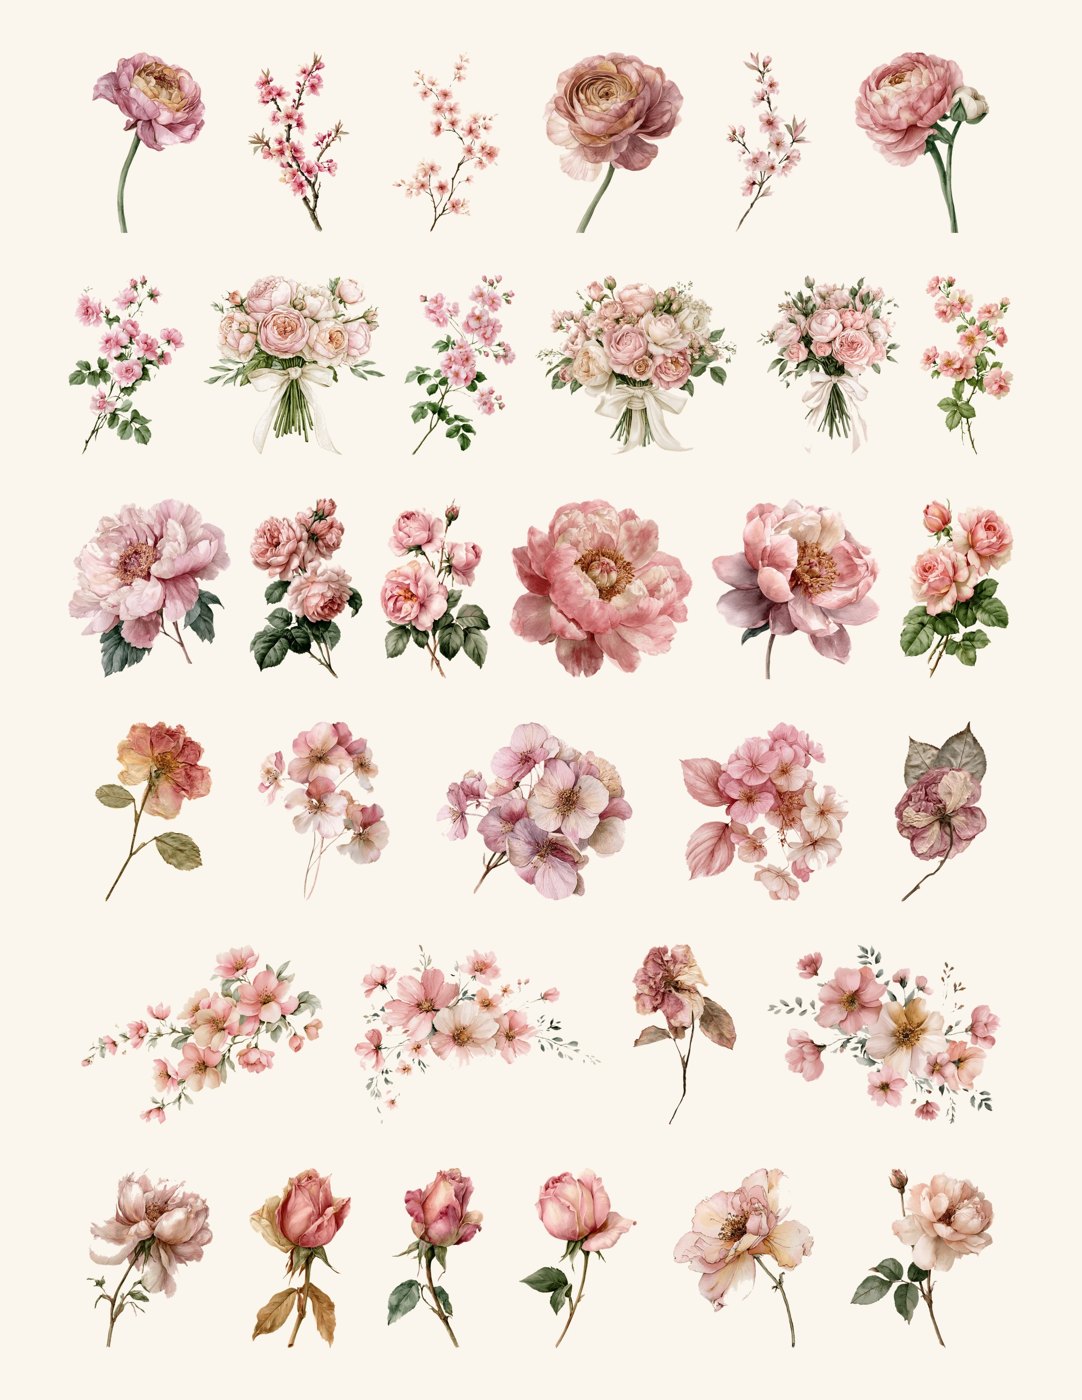
Our Blush Shabby Ephemera set (roses, bows, frames and tags) is in our Etsy shop.
Visit the shop on Etsy
Love the shabby chic look?
Our Blush Shabby Ephemera set (roses, bows, frames and tags) is in our Etsy shop.
Visit the shop on Etsy
Rule 10: Keep It Slow and Fun
Junk journaling is not a race. Put the kettle on, light a candle, and give yourself permission to spend an hour on a single page, or ten minutes on a quick one. Both are perfect.
On busy days, simply tape in a receipt and write the date. On slow Sundays, build a big layered spread. Over time, all those little sessions add up to a journal full of your life.
- Set up a small, cozy craft corner so it is easy to start.
- Keep supplies in one basket so cleanup takes seconds.
- Celebrate finished pages, even the simple ones.

Quick Junk Journal Supply List
You can start with just a few basics and add more as you go. Here is a short list to begin with (the free checklist above has the full version):
- A notebook, an old hardcover book or a stack of folded papers
- Vintage or printable papers in a few patterns
- Scissors, a glue stick and double-sided tape
- Washi tape in three or four designs
- Envelopes, tags and a few pieces of lace or ribbon
- A pen you enjoy writing with
Junk Journal FAQ
What do you put in a junk journal for beginners?
Start with simple paper pieces you already have: old book pages, envelopes, postcards, ticket stubs, photos, tags and scraps of lace or ribbon. Add a few words, a date or a quote, and you have a page.
Do I need special supplies to start a junk journal?
No. Scissors, glue and a notebook or old book are enough. Washi tape, stamps and printable papers are fun extras, but many beautiful journals are made almost entirely from recycled materials.
What is the difference between a junk journal and a scrapbook?
A scrapbook usually focuses on photos and events in a neat, planned layout. A junk journal is looser and more personal: it mixes found paper, handwriting, ephemera and memories, and imperfect pages are part of the style.
How long does it take to make a junk journal?
A single page can take ten minutes or an afternoon. Many people fill a journal slowly over a few weeks or months, adding a page whenever they have something to remember.
Can I use printables in a junk journal?
Yes. Printable papers and ephemera are a great way to start when you do not have many vintage finds yet. Print them on matte paper, tear or cut the edges, and layer them with your real treasures.
Start Your First Page Today
The best way to learn junk journaling is to make one messy, happy page. Grab the free checklist, gather what you already have, and pick one rule to try tonight. You will be amazed how quickly your little book fills up with stories.
For more junk journal ideas, printable papers and cozy vintage inspiration, follow us on Pinterest.